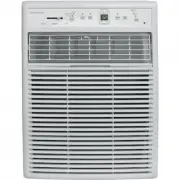
Frigidaire FHPC102AC1 - Manuals
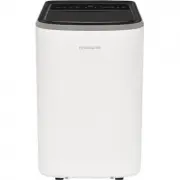
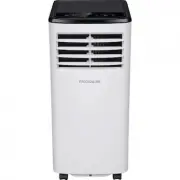
User Manual Frigidaire FHPC102AC1


Summary
2 INTRODUCTION Welcome to our family Model NumberSerial NumberPurchase Date Thank you for bringing Frigidaire into your home! We see your purchase as the beginning of a long relationship together.This manual is your resource for the use and care of your product. Please read it before using your appl...
3 For Your Safety IMPORTANT SAFETY INSTRUCTIONS WARNING Do not store or use gasoline or other flammable vapors and liquids in the vicinity of this or any other appliance. Read product labels for flammability and other warnings. Prevent Accidents WARNING To reduce the risk of fire, electrical shock, ...
4 IMPORTANT SAFETY INSTRUCTIONS SAFETY PRECAUTIONS DANGER! Avoid Serious Injury or Death • This air conditioner contains no user-serviceable parts. Always call an authorized Electrolux servicer for repairs. • Do not insert or place fingers or objects into the air discharge area in the front of the u...
Frigidaire Air Conditioners Manuals
-
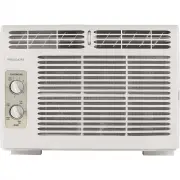
 Frigidaire FFRA051WA1
User Manual
Frigidaire FFRA051WA1
User Manual
-
 Frigidaire FFRA051WAE
User Manual
Frigidaire FFRA051WAE
User Manual
-
 Frigidaire FFRA062WAE
User Manual
Frigidaire FFRA062WAE
User Manual
-
 Frigidaire FFRE053WAE
User Manual
Frigidaire FFRE053WAE
User Manual
-
 Frigidaire FFRE063WAE
User Manual
Frigidaire FFRE063WAE
User Manual
-
 Frigidaire FFRE083WAE
User Manual
Frigidaire FFRE083WAE
User Manual
-
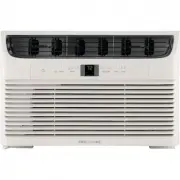
 Frigidaire FFRE103WAE
User Manual
Frigidaire FFRE103WAE
User Manual
-
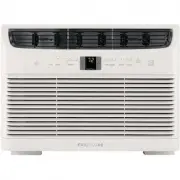
 Frigidaire FFRE123WAE
User Manual
Frigidaire FFRE123WAE
User Manual
-
 Frigidaire FFRE153WAE
User Manual
Frigidaire FFRE153WAE
User Manual
-
 Frigidaire FFRS0822SE
User Manual
Frigidaire FFRS0822SE
User Manual
-
 Frigidaire FFRS1022RE
User Manual
Frigidaire FFRS1022RE
User Manual
-
 Frigidaire FFTA123WA1
User Manual
Frigidaire FFTA123WA1
User Manual
-
 Frigidaire FFTA123WA2
User Manual
Frigidaire FFTA123WA2
User Manual
-
 Frigidaire FFTH0822U1
User Manual
Frigidaire FFTH0822U1
User Manual
-
 Frigidaire FHPC082AC1
User Manual
Frigidaire FHPC082AC1
User Manual
-
 Frigidaire FHPH142AC1
User Manual
Frigidaire FHPH142AC1
User Manual
-
 Frigidaire FHPW122AC1
User Manual
Frigidaire FHPW122AC1
User Manual
-
 Frigidaire FHPW142AC1
User Manual
Frigidaire FHPW142AC1
User Manual
-
 Frigidaire FHSC082WB1
User Manual
Frigidaire FHSC082WB1
User Manual
-
 Frigidaire FHSC102WB1
User Manual
Frigidaire FHSC102WB1
User Manual