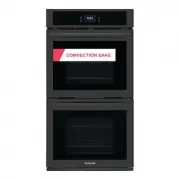
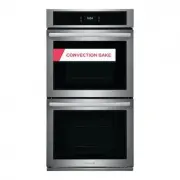
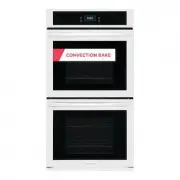
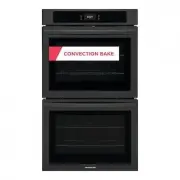
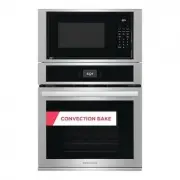
Frigidaire FCWS3027AW - Manuals

Frigidaire FCWS3027AW Oven – User Manual, Manual, Installation Manual in PDF format online.
Manuals:
User Manual Frigidaire FCWS3027AW


Manual Frigidaire FCWS3027AW


Installation Manual Frigidaire FCWS3027AW


Summary
Thank you for choosing Frigidaire. This Use & Care Guide is part of our commitment to customer satisfaction and product quality throughout the service life of your new appliance.We view your purchase as the beginning of a relationship. To ensure our ability to continue serving you, please use th...
Save these instructions for future references Approved for residential appliances For residential use only Do not attempt to install or operate your appliance until you have read the safety precautions in this manual. Safety items throughout this manual are labeled with a WARNING or CAUTION based on...
4 WARNING TO REDUCE THE RISK OF INJURY TO PERSONS, IN THE EVENT OF A RANGE TOP GREASE FIRE, OBSERVE THE FOLLOWING: SMOTHER FLAMES with a close - fitting lid, cookie sheet, or other metal tray, then turn off the gas burner or the electric element. BE CAREFUL TO PREVENT BURNS. If the flames do not go ...
Frigidaire Ovens Manuals
-
 Frigidaire FCWD2727AB
User Manual
Frigidaire FCWD2727AB
User Manual
-
Frigidaire FCWD2727AB
Manual
-
 Frigidaire FCWD2727AS
User Manual
Frigidaire FCWD2727AS
User Manual
-
Frigidaire FCWD2727AS
Manual
-
 Frigidaire FCWD2727AW
User Manual
Frigidaire FCWD2727AW
User Manual
-
Frigidaire FCWD2727AW
Manual
-
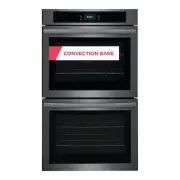
 Frigidaire FCWD3027AB
User Manual
Frigidaire FCWD3027AB
User Manual
-
Frigidaire FCWD3027AB
Manual
-
 Frigidaire FCWD3027AD
User Manual
Frigidaire FCWD3027AD
User Manual
-
Frigidaire FCWD3027AD
Manual
-
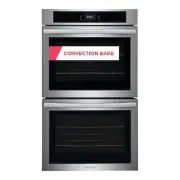 Frigidaire FCWD3027AS
User Manual
Frigidaire FCWD3027AS
User Manual
-
Frigidaire FCWD3027AS
Manual
-
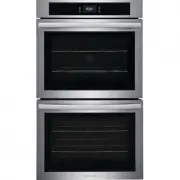
 Frigidaire FCWD3027AW
User Manual
Frigidaire FCWD3027AW
User Manual
-
Frigidaire FCWD3027AW
Manual
-
 Frigidaire FCWD302LAF
User Manual
Frigidaire FCWD302LAF
User Manual
-
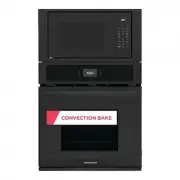 Frigidaire FCWM2727AB
User Manual
Frigidaire FCWM2727AB
User Manual
-
Frigidaire FCWM2727AB
Manual
-
 Frigidaire FCWM2727AS
User Manual
Frigidaire FCWM2727AS
User Manual
-
Frigidaire FCWM2727AS
Manual
-
 Frigidaire FCWM3027AB
User Manual
Frigidaire FCWM3027AB
User Manual