Frigidaire FCWS2727AS - Manuals

User Manual Frigidaire FCWS2727AS


Manual Frigidaire FCWS2727AS


Summary
2 ELECTRIC WALL OVEN INSTALLATION INSTRUCTIONS Figure 2: Double Wall Ovens Do not remove spacers (if equipped) on the side walls of the built-in oven. These spacers center the oven in the space provided. The oven must be centered to prevent excess heat buildup that may result in heat damage or fire....
3 ELECTRIC WALL OVEN INSTALLATION INSTRUCTIONS DOUBLE WALL OVEN INSTALLATION Single Wall Ovens 1. Base must be capable of supporting 150 pounds (68 kg). 2. Solid plywood or solid wood must be at least ½” (1.3 cm) thick. Double Wall Ovens 1. Base must be capable of supporting 300 pounds (136 kg). 2. ...
4 ELECTRIC WALL OVEN INSTALLATION INSTRUCTIONS Important Notes to the Installer 1. Read all instructions contained in these installation instructions before installing the wall oven. 2. Remove all packing material from the oven compartments before connecting the electrical supply to the wall oven. 3...
Frigidaire Ovens Manuals
-
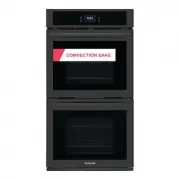 Frigidaire FCWD2727AB
User Manual
Frigidaire FCWD2727AB
User Manual
-
Frigidaire FCWD2727AB
Manual
-
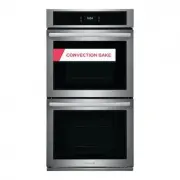 Frigidaire FCWD2727AS
User Manual
Frigidaire FCWD2727AS
User Manual
-
Frigidaire FCWD2727AS
Manual
-
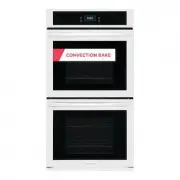 Frigidaire FCWD2727AW
User Manual
Frigidaire FCWD2727AW
User Manual
-
Frigidaire FCWD2727AW
Manual
-
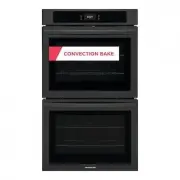 Frigidaire FCWD3027AB
User Manual
Frigidaire FCWD3027AB
User Manual
-
Frigidaire FCWD3027AB
Manual
-
 Frigidaire FCWD3027AD
User Manual
Frigidaire FCWD3027AD
User Manual
-
Frigidaire FCWD3027AD
Manual
-
 Frigidaire FCWD3027AS
User Manual
Frigidaire FCWD3027AS
User Manual
-
Frigidaire FCWD3027AS
Manual
-
 Frigidaire FCWD3027AW
User Manual
Frigidaire FCWD3027AW
User Manual
-
Frigidaire FCWD3027AW
Manual
-
 Frigidaire FCWD302LAF
User Manual
Frigidaire FCWD302LAF
User Manual
-
 Frigidaire FCWM2727AB
User Manual
Frigidaire FCWM2727AB
User Manual
-
Frigidaire FCWM2727AB
Manual
-
 Frigidaire FCWM2727AS
User Manual
Frigidaire FCWM2727AS
User Manual
-
Frigidaire FCWM2727AS
Manual
-
 Frigidaire FCWM3027AB
User Manual
Frigidaire FCWM3027AB
User Manual