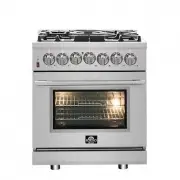
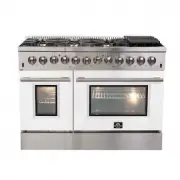
FORNO FFSGS6439-30 - Manuals
User Manual FORNO FFSGS6439-30


Summary
Cooktop Burner Grills Installation 3 6 8 1 2 Electrical 1 5 Gas Supply 1 6 Pressure Regulator 1 7 Gas Shut-off Valve 1 7 Product Dimensions and Cabinets 1 8 Exhaust Hood Installation 2 2 Gas Conversion Operation 2 2 Gas Supply Connection 2 8 Ignition 2 8 Simmer and Boil 2 9 Burner Grates 29 Griddle ...
3 Thank you for purchasing a FORNO product. Please read the entire instruction manual before operating your new appliance for the first time. Whether you are an occasional user or an expert , it will be beneficial to familiarize yourself with the safety practices, features, operation and care recomm...
4 :KDWWKLVOLPLWHGZDUUDQW\FRYHUV The Warranty coverage provided by Forno Appliances in this statement applies exclusively to the original Forno appliance (“Product”) sold to the consumer (“Purchaser”) by an authorized Forno dealer/distributor/retailer, purchased and installed in the United States or ...
FORNO Ranges Manuals
-
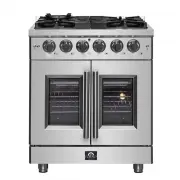
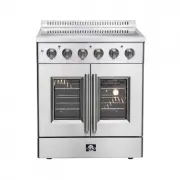
 FORNO FFSEL6020-30
User Manual
FORNO FFSEL6020-30
User Manual
-
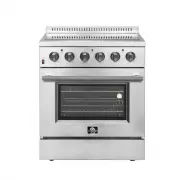
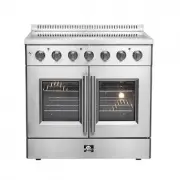
 FORNO FFSEL6052-20
User Manual
FORNO FFSEL6052-20
User Manual
-
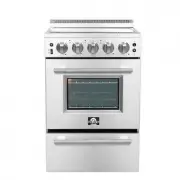 FORNO FFSEL6069-24
User Manual
FORNO FFSEL6069-24
User Manual
-
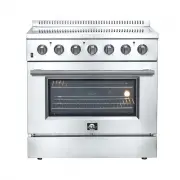 FORNO FFSEL6083-36
User Manual
FORNO FFSEL6083-36
User Manual
-
 FORNO FFSEL6917-30
User Manual
FORNO FFSEL6917-30
User Manual
-
 FORNO FFSEL6917-36
User Manual
FORNO FFSEL6917-36
User Manual
-
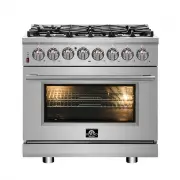
 FORNO FFSGS6125-30
User Manual
FORNO FFSGS6125-30
User Manual
-
 FORNO FFSGS6125-36
User Manual
FORNO FFSGS6125-36
User Manual
-
 FORNO FFSGS6125-48
User Manual
FORNO FFSGS6125-48
User Manual
-
 FORNO FFSGS6156-36
User Manual
FORNO FFSGS6156-36
User Manual
-
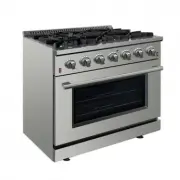
 FORNO FFSGS6156-36BLK
User Manual
FORNO FFSGS6156-36BLK
User Manual
-
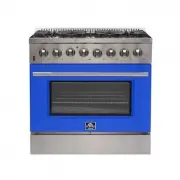 FORNO FFSGS6156-36BLU
User Manual
FORNO FFSGS6156-36BLU
User Manual
-
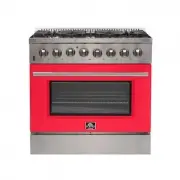 FORNO FFSGS6156-36RED
User Manual
FORNO FFSGS6156-36RED
User Manual
-
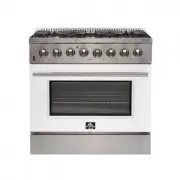 FORNO FFSGS6156-36WHT
User Manual
FORNO FFSGS6156-36WHT
User Manual
-
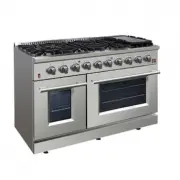 FORNO FFSGS6156-48
User Manual
FORNO FFSGS6156-48
User Manual
-
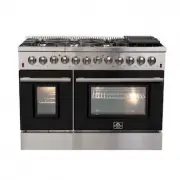 FORNO FFSGS6156-48BLK
User Manual
FORNO FFSGS6156-48BLK
User Manual
-
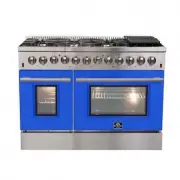 FORNO FFSGS6156-48BLU
User Manual
FORNO FFSGS6156-48BLU
User Manual
-
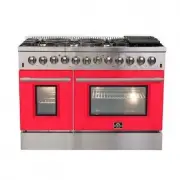 FORNO FFSGS6156-48RED
User Manual
FORNO FFSGS6156-48RED
User Manual
-
 FORNO FFSGS6156-48WHT
User Manual
FORNO FFSGS6156-48WHT
User Manual
-
 FORNO FFSGS6187-30
User Manual
FORNO FFSGS6187-30
User Manual