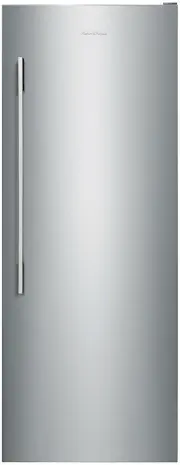
Fisher & Paykel RS6019F3LJ1 - Manuals

User Manual Fisher & Paykel RS6019F3LJ1


Summary
3 CONTENTS Registration To register your product visit our website: fisherpaykel.com/register Safety and warnings 5 Before you begin 10 Control panel 13 Food modes 14 Features 15Settings 16Wi-Fi connection 17 Adjusting the temperature 18 Food mode presets 19 Changing features 20 Changing settings 21...
5 SAFETY AND WARNINGS WARNING! Electric Shock Hazard Failure to do so can result in death, electric shock, fire or injury to persons. • Read and follow the safety and warnings outlined in this user guide before operating this appliance. WARNING! This appliance contains flammable refrigerant isobutan...
6 SAFETY AND WARNINGS READ AND SAVE THIS GUIDE WARNING! Read entire manual. Failure to follow all guides and rules could cause personal injury or property damage. When using this appliance, always exercise basic safety precautions including the following: General Use z This appliance is designed for...
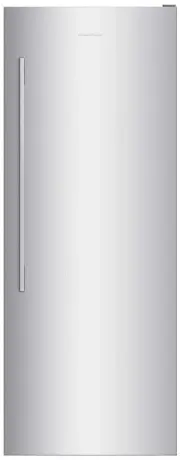
Fisher & Paykel Freezers Manuals
-
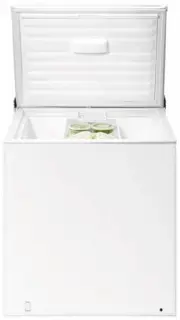
 Fisher & Paykel E150LWW
User Manual
Fisher & Paykel E150LWW
User Manual
-
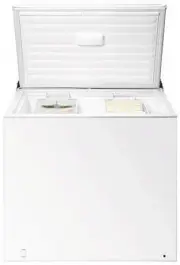
 Fisher & Paykel E150RWW
User Manual
Fisher & Paykel E150RWW
User Manual
-
 Fisher & Paykel E210LSX
User Manual
Fisher & Paykel E210LSX
User Manual
-
 Fisher & Paykel E210LWW
User Manual
Fisher & Paykel E210LWW
User Manual
-
 Fisher & Paykel E210RWH
User Manual
Fisher & Paykel E210RWH
User Manual
-
 Fisher & Paykel E210RWW
User Manual
Fisher & Paykel E210RWW
User Manual
-
 Fisher & Paykel E308LWW
User Manual
Fisher & Paykel E308LWW
User Manual
-
 Fisher & Paykel E308RW1
User Manual
Fisher & Paykel E308RW1
User Manual
-
 Fisher & Paykel E308RWW
User Manual
Fisher & Paykel E308RWW
User Manual
-
 Fisher & Paykel E388LW1
User Manual
Fisher & Paykel E388LW1
User Manual
-
 Fisher & Paykel E388LWW
User Manual
Fisher & Paykel E388LWW
User Manual
-
 Fisher & Paykel E388LXFD
User Manual
Fisher & Paykel E388LXFD
User Manual
-
 Fisher & Paykel E388RWW
User Manual
Fisher & Paykel E388RWW
User Manual
-
 Fisher & Paykel E388RXFD
User Manual
Fisher & Paykel E388RXFD
User Manual
-
 Fisher & Paykel E388RXFD1
User Manual
Fisher & Paykel E388RXFD1
User Manual
-
 Fisher & Paykel H215X
User Manual
Fisher & Paykel H215X
User Manual
-
 Fisher & Paykel H220X
User Manual
Fisher & Paykel H220X
User Manual
-
 Fisher & Paykel H275X
User Manual
Fisher & Paykel H275X
User Manual
-
 Fisher & Paykel H280X
User Manual
Fisher & Paykel H280X
User Manual
-
 Fisher & Paykel H320X
User Manual
Fisher & Paykel H320X
User Manual