Fisher & Paykel HPB9028-1 - Manuals
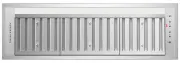
User Manual Fisher & Paykel HPB9028-1


Summary
1 CONTENTS IMPORTANT! SAVE THIS GUIDE The models shown in this user guide may not be available in all markets and are subject to change at any time. For current details about model and specification availability in your country, please go to our website fisherpaykel.com or contact your local Fisher ...
3 INTRODUCTION Welcome to the family of Fisher & Paykel appliances. Our team has spent thousands of hours designing, engineering and testing this Integrated Rangehood to ensure you get the perfect product for your home. For more information on your product please visit fisherpaykel.com or contac...
4 SAFETY AND WARNINGS ! WARNING! Weight HazardThe appliance is heavy. Please ensure adequate care is taken when installing the appliance to prevent personal injury. Weight of the products are:HPB6028-1 = 14 kgHPB7528-1 = 17 kgHPB7548-1 = 21 kgHPB9028-1 = 19 kgHPB9048-1 = 23 kgHPB9048-2 = 31 kgHPB12...
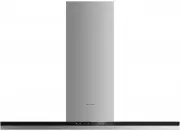
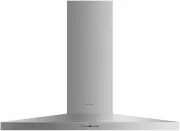
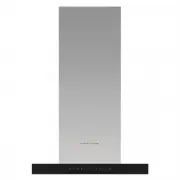
Fisher & Paykel Range Hoods Manuals
-
 Fisher & Paykel HC120DCXB3
User Manual
Fisher & Paykel HC120DCXB3
User Manual
-
 Fisher & Paykel HC120PHTX1
User Manual
Fisher & Paykel HC120PHTX1
User Manual
-
 Fisher & Paykel HC24DTXB2
User Manual
Fisher & Paykel HC24DTXB2
User Manual
-
Fisher & Paykel HC30DTXB2
User Manual
-
 Fisher & Paykel HC36DCXB4
User Manual
Fisher & Paykel HC36DCXB4
User Manual
-
Fisher & Paykel HC36DTXB2
User Manual
-
 Fisher & Paykel HC36PCB1
User Manual
Fisher & Paykel HC36PCB1
User Manual
-
 Fisher & Paykel HC60DCXB1
User Manual
Fisher & Paykel HC60DCXB1
User Manual
-
Fisher & Paykel HC60DCXB1
Manual
-
 Fisher & Paykel HC60DCXB3
User Manual
Fisher & Paykel HC60DCXB3
User Manual
-
 Fisher & Paykel HC60DCXB4
User Manual
Fisher & Paykel HC60DCXB4
User Manual
-
 Fisher & Paykel HC60PHTX1
User Manual
Fisher & Paykel HC60PHTX1
User Manual
-
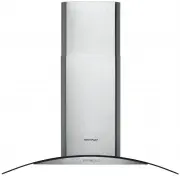 Fisher & Paykel HC90CGX1
User Manual
Fisher & Paykel HC90CGX1
User Manual
-
Fisher & Paykel HC90CGX1
Manual
-
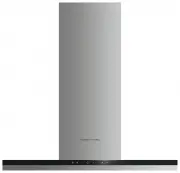 Fisher & Paykel HC90DCEXB3
User Manual
Fisher & Paykel HC90DCEXB3
User Manual
-
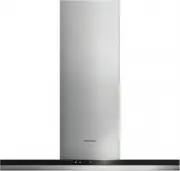 Fisher & Paykel HC90DCXB1
User Manual
Fisher & Paykel HC90DCXB1
User Manual
-
Fisher & Paykel HC90DCXB1
Manual
-
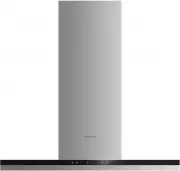 Fisher & Paykel HC90DCXB3
User Manual
Fisher & Paykel HC90DCXB3
User Manual
-
 Fisher & Paykel HC90PCB1
User Manual
Fisher & Paykel HC90PCB1
User Manual
-
 Fisher & Paykel HC90PCHTX
User Manual
Fisher & Paykel HC90PCHTX
User Manual