Fisher & Paykel HP60IDCHX2 - Manuals
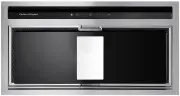
User Manual Fisher & Paykel HP60IDCHX2


Summary
1 CONTENTS Introduction 3Safety and warnings 4 Installation instructions 7 Operating instructions 15 Cleaning and maintenance 16 Parts and accessories 18 Manufacturer’s Warranty 19 Customer Care 21 IMPORTANT! SAVE THESE INSTRUCTIONS The models shown in this user guide may not be available in all mar...
3 INTRODUCTION Thank you for purchasing a Fisher & Paykel product. Thousands of hours go into the design, engineering, testing and perfecting of each Fisher & Paykel appliance. The care and attention given to creating these beautiful products doesn’t stop once it has found its home with you....
4 SAFETY AND WARNINGS ! WARNING! 8.2 kg (HP60) 11.5 kg (HP90) Weight Hazard The appliance is heavy. Please ensure adequate care is taken when installing the appliance to prevent personal injury. The appliance must be installed onto a solid wall, stud, beam or truss. Weight of the product is 8.2 kg (...
Fisher & Paykel Range Hoods Manuals
-
 Fisher & Paykel HC120DCXB3
User Manual
Fisher & Paykel HC120DCXB3
User Manual
-
 Fisher & Paykel HC120PHTX1
User Manual
Fisher & Paykel HC120PHTX1
User Manual
-
 Fisher & Paykel HC24DTXB2
User Manual
Fisher & Paykel HC24DTXB2
User Manual
-
Fisher & Paykel HC30DTXB2
User Manual
-
 Fisher & Paykel HC36DCXB4
User Manual
Fisher & Paykel HC36DCXB4
User Manual
-
Fisher & Paykel HC36DTXB2
User Manual
-
 Fisher & Paykel HC36PCB1
User Manual
Fisher & Paykel HC36PCB1
User Manual
-
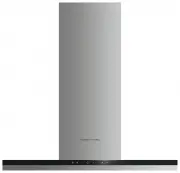
 Fisher & Paykel HC60DCXB1
User Manual
Fisher & Paykel HC60DCXB1
User Manual
-
Fisher & Paykel HC60DCXB1
Manual
-
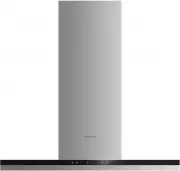
 Fisher & Paykel HC60DCXB3
User Manual
Fisher & Paykel HC60DCXB3
User Manual
-
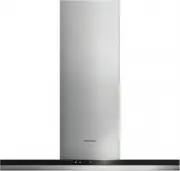
 Fisher & Paykel HC60DCXB4
User Manual
Fisher & Paykel HC60DCXB4
User Manual
-
 Fisher & Paykel HC60PHTX1
User Manual
Fisher & Paykel HC60PHTX1
User Manual
-
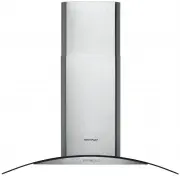 Fisher & Paykel HC90CGX1
User Manual
Fisher & Paykel HC90CGX1
User Manual
-
Fisher & Paykel HC90CGX1
Manual
-
 Fisher & Paykel HC90DCEXB3
User Manual
Fisher & Paykel HC90DCEXB3
User Manual
-
 Fisher & Paykel HC90DCXB1
User Manual
Fisher & Paykel HC90DCXB1
User Manual
-
Fisher & Paykel HC90DCXB1
Manual
-
 Fisher & Paykel HC90DCXB3
User Manual
Fisher & Paykel HC90DCXB3
User Manual
-
 Fisher & Paykel HC90PCB1
User Manual
Fisher & Paykel HC90PCB1
User Manual
-
 Fisher & Paykel HC90PCHTX
User Manual
Fisher & Paykel HC90PCHTX
User Manual