Fisher & Paykel HC90PCHTX - Manuals

User Manual Fisher & Paykel HC90PCHTX


Summary
1 Safety and warnings 2 Installation instructions 3 Getting started quickly 8 Cleaning and maintenance 9 Manufacturer’s warranty 11 Customer care 12 Contents Important! SAVE THESE INSTRUCTIONS The models shown in this User Guide may not be available in all markets and are subject to change at any ti...
2 Safety and warnings Important! Please read the entire set of instructions before installing the wall canopy. This wall canopy is not intended for use by young children or infirm persons without supervision. Young children should be supervised to ensure that they do not play with the wall canopy. T...
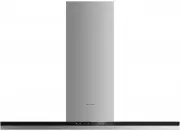
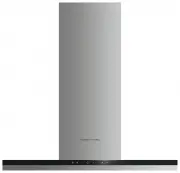
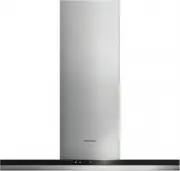
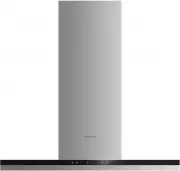
3 Fig.1 Wall canopy Installation instructions Contents of packaging 1 x wall canopy 2 x chimney flues with bracket 1 x installation instructions 2 x aluminium mesh filters (HC60PCHTX2) 3 x aluminium mesh filters (HC90PCHTX2) 2 x butterfly flaps 4 x small screws, to secure chimney flue 5 x 8 x 1½” wo...
Fisher & Paykel Range Hoods Manuals
-
 Fisher & Paykel HC120DCXB3
User Manual
Fisher & Paykel HC120DCXB3
User Manual
-
 Fisher & Paykel HC120PHTX1
User Manual
Fisher & Paykel HC120PHTX1
User Manual
-
 Fisher & Paykel HC24DTXB2
User Manual
Fisher & Paykel HC24DTXB2
User Manual
-
Fisher & Paykel HC30DTXB2
User Manual
-
 Fisher & Paykel HC36DCXB4
User Manual
Fisher & Paykel HC36DCXB4
User Manual
-
Fisher & Paykel HC36DTXB2
User Manual
-
 Fisher & Paykel HC36PCB1
User Manual
Fisher & Paykel HC36PCB1
User Manual
-
 Fisher & Paykel HC60DCXB1
User Manual
Fisher & Paykel HC60DCXB1
User Manual
-
Fisher & Paykel HC60DCXB1
Manual
-
 Fisher & Paykel HC60DCXB3
User Manual
Fisher & Paykel HC60DCXB3
User Manual
-
 Fisher & Paykel HC60DCXB4
User Manual
Fisher & Paykel HC60DCXB4
User Manual
-
 Fisher & Paykel HC60PHTX1
User Manual
Fisher & Paykel HC60PHTX1
User Manual
-
 Fisher & Paykel HC90CGX1
User Manual
Fisher & Paykel HC90CGX1
User Manual
-
Fisher & Paykel HC90CGX1
Manual
-
 Fisher & Paykel HC90DCEXB3
User Manual
Fisher & Paykel HC90DCEXB3
User Manual
-
 Fisher & Paykel HC90DCXB1
User Manual
Fisher & Paykel HC90DCXB1
User Manual
-
Fisher & Paykel HC90DCXB1
Manual
-
 Fisher & Paykel HC90DCXB3
User Manual
Fisher & Paykel HC90DCXB3
User Manual
-
 Fisher & Paykel HC90PCB1
User Manual
Fisher & Paykel HC90PCB1
User Manual
-
 Fisher & Paykel HC90PCR1
User Manual
Fisher & Paykel HC90PCR1
User Manual