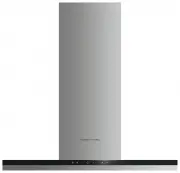
Fisher & Paykel HC60DCXB4 - Manuals
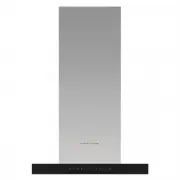
User Manual Fisher & Paykel HC60DCXB4


Summary
2 SAFETY AND WARNINGS Installation y Please read the entire set of instructions before installing or using this appliance. y Please make this information available to the person installing the appliance – doing so could reduce your installation costs. y Always switch the power off prior to installat...
3 SAFETY AND WARNINGS y Never leave frying food unattended since grease can overheat and catch fire. The risk of fire is even greater in the case of used oil. y Do not flambé under the rangehood. y Never use the rangehood without the filters in place. y During an electrostatic discharge (ESD) it is ...
4 COMPONENTS REQUIRED z Keep all packing materials until the unit has been inspected. z Inspect the product to ensure there is no shipping damage. If any damage is detected contact the dealer or retailer you bought the product from to report the damage. z Fisher & Paykel is not responsible for s...
Fisher & Paykel Range Hoods Manuals
-
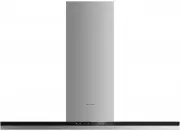 Fisher & Paykel HC120DCXB3
User Manual
Fisher & Paykel HC120DCXB3
User Manual
-
 Fisher & Paykel HC120PHTX1
User Manual
Fisher & Paykel HC120PHTX1
User Manual
-
 Fisher & Paykel HC24DTXB2
User Manual
Fisher & Paykel HC24DTXB2
User Manual
-
Fisher & Paykel HC30DTXB2
User Manual
-
 Fisher & Paykel HC36DCXB4
User Manual
Fisher & Paykel HC36DCXB4
User Manual
-
Fisher & Paykel HC36DTXB2
User Manual
-
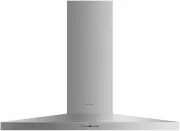
 Fisher & Paykel HC36PCB1
User Manual
Fisher & Paykel HC36PCB1
User Manual
-
 Fisher & Paykel HC60DCXB1
User Manual
Fisher & Paykel HC60DCXB1
User Manual
-
Fisher & Paykel HC60DCXB1
Manual
-
 Fisher & Paykel HC60DCXB3
User Manual
Fisher & Paykel HC60DCXB3
User Manual
-
 Fisher & Paykel HC60PHTX1
User Manual
Fisher & Paykel HC60PHTX1
User Manual
-
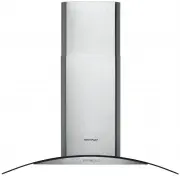 Fisher & Paykel HC90CGX1
User Manual
Fisher & Paykel HC90CGX1
User Manual
-
Fisher & Paykel HC90CGX1
Manual
-
 Fisher & Paykel HC90DCEXB3
User Manual
Fisher & Paykel HC90DCEXB3
User Manual
-
 Fisher & Paykel HC90DCXB1
User Manual
Fisher & Paykel HC90DCXB1
User Manual
-
Fisher & Paykel HC90DCXB1
Manual
-
 Fisher & Paykel HC90DCXB3
User Manual
Fisher & Paykel HC90DCXB3
User Manual
-
 Fisher & Paykel HC90PCB1
User Manual
Fisher & Paykel HC90PCB1
User Manual
-
 Fisher & Paykel HC90PCHTX
User Manual
Fisher & Paykel HC90PCHTX
User Manual
-
 Fisher & Paykel HC90PCR1
User Manual
Fisher & Paykel HC90PCR1
User Manual