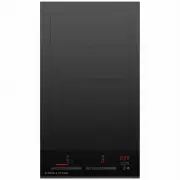
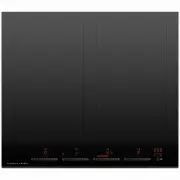
Fisher & Paykel CI365DTB4 - Manuals
Fisher & Paykel CI365DTB4 Hob – User Manual in PDF format online.
Manuals:
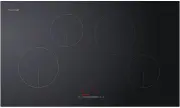
User Manual Fisher & Paykel CI365DTB4


Summary
CONTENTS Safety and warnings 4 First use 9 Cookware 11Using your cooktop 12 Using the timer 14 Safety features 19 SmartZone 20Bridging zones 21 PowerBoost 23GentleHeat 26Auto RapidHeat 27 Cooking guidelines 29 Care and cleaning 31 Troubleshooting 32Service and warranty 34 Registration To register yo...
SAFETY AND WARNINGS ! WARNING! Electric Shock Hazard Failure to follow this advice may result in electric shock or death. • Do not cook on a broken or cracked cooktop. If the cooktop surface should break or crack, switch the appliance off immediately at the mains power supply (wall switch) and conta...
! WARNING! Hot Surface Hazard Failure to follow this advice may result in death. • DO NOT TOUCH SURFACE UNITS OR AREAS NEAR UNITS – Surface units may be hot even though they are dark in color. • During use, accessible parts of this appliance will become hot enough to cause burns. • Do not let body, ...
Fisher & Paykel Hobs Manuals
-
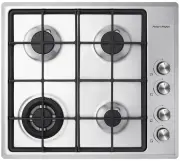 Fisher & Paykel CG604CNGX2
User Manual
Fisher & Paykel CG604CNGX2
User Manual
-
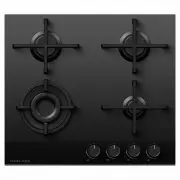 Fisher & Paykel CG604DLPGB4
User Manual
Fisher & Paykel CG604DLPGB4
User Manual
-
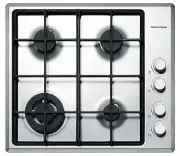 Fisher & Paykel CG604DWFCX1
User Manual
Fisher & Paykel CG604DWFCX1
User Manual
-
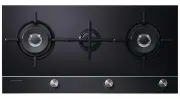 Fisher & Paykel CG903DLPGB1
User Manual
Fisher & Paykel CG903DLPGB1
User Manual
-
 Fisher & Paykel CG905DNGGB4
User Manual
Fisher & Paykel CG905DNGGB4
User Manual
-
 Fisher & Paykel CG905DWNGFCX3
User Manual
Fisher & Paykel CG905DWNGFCX3
User Manual
-
 Fisher & Paykel CG905DX1
User Manual
Fisher & Paykel CG905DX1
User Manual
-
Fisher & Paykel CI122DTB4
User Manual
-
Fisher & Paykel CI244DTB4
User Manual
-
 Fisher & Paykel CI302DTB4
User Manual
Fisher & Paykel CI302DTB4
User Manual
-
Fisher & Paykel CI304DTB4
User Manual
-
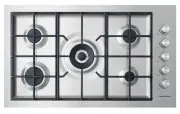
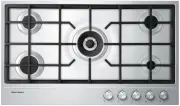
 Fisher & Paykel CI603DTB4
User Manual
Fisher & Paykel CI603DTB4
User Manual
-
 Fisher & Paykel CI604CTB1
User Manual
Fisher & Paykel CI604CTB1
User Manual
-
 Fisher & Paykel CI604DTB4
User Manual
Fisher & Paykel CI604DTB4
User Manual
-
 Fisher & Paykel CI904CTB1
User Manual
Fisher & Paykel CI904CTB1
User Manual
-
 Fisher & Paykel CI905DTB3
User Manual
Fisher & Paykel CI905DTB3
User Manual
-
 Fisher & Paykel CI905DTB4
User Manual
Fisher & Paykel CI905DTB4
User Manual