Fisher & Paykel CG604CNGX2 - Manuals
User Manual Fisher & Paykel CG604CNGX2


Summary
1 CONTENTS Safety and warnings 2 Installation instructions 6 Introduction 14 Using your cooktop 15 Cooking guidelines and cookware 18 Care and cleaning 20 Troubleshooting 24 Warranty and service 26 IMPORTANT! SAVE THESE INSTRUCTIONS The models shown in this user guide may not be available in all mar...
2 SAFETY AND WARNINGS Your safety is important to us. Please read this information before using your cooktop. Installation WARNING! Electrical Shock HazardBefore carrying out any work on the electrical section of the appliance, it must be disconnected from the mains electricity supply.Connection to ...
3 SAFETY AND WARNINGS IMPORTANT SAFETY INSTRUCTIONS! Installation ● Read these instructions carefully before installing or using this product. ● Please make this information available to the person responsible for installing the product as it could reduce your installation costs. ● Particular attent...
Fisher & Paykel Hobs Manuals
-
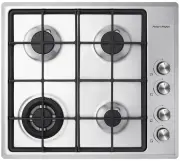
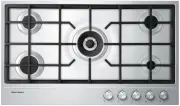
 Fisher & Paykel CG604DLPGB4
User Manual
Fisher & Paykel CG604DLPGB4
User Manual
-
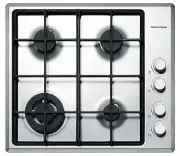 Fisher & Paykel CG604DWFCX1
User Manual
Fisher & Paykel CG604DWFCX1
User Manual
-
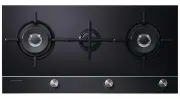 Fisher & Paykel CG903DLPGB1
User Manual
Fisher & Paykel CG903DLPGB1
User Manual
-
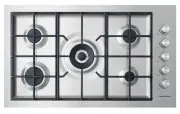
 Fisher & Paykel CG905DNGGB4
User Manual
Fisher & Paykel CG905DNGGB4
User Manual
-
 Fisher & Paykel CG905DWNGFCX3
User Manual
Fisher & Paykel CG905DWNGFCX3
User Manual
-
 Fisher & Paykel CG905DX1
User Manual
Fisher & Paykel CG905DX1
User Manual
-
 Fisher & Paykel CI122DTB4
User Manual
Fisher & Paykel CI122DTB4
User Manual
-
Fisher & Paykel CI244DTB4
User Manual
-
 Fisher & Paykel CI302DTB4
User Manual
Fisher & Paykel CI302DTB4
User Manual
-
Fisher & Paykel CI304DTB4
User Manual
-
Fisher & Paykel CI365DTB4
User Manual
-
 Fisher & Paykel CI603DTB4
User Manual
Fisher & Paykel CI603DTB4
User Manual
-
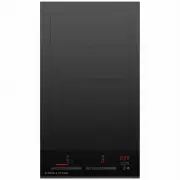
 Fisher & Paykel CI604CTB1
User Manual
Fisher & Paykel CI604CTB1
User Manual
-
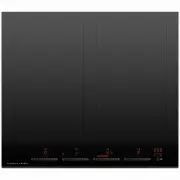 Fisher & Paykel CI604DTB4
User Manual
Fisher & Paykel CI604DTB4
User Manual
-
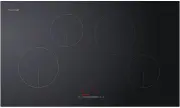 Fisher & Paykel CI904CTB1
User Manual
Fisher & Paykel CI904CTB1
User Manual
-
 Fisher & Paykel CI905DTB3
User Manual
Fisher & Paykel CI905DTB3
User Manual
-
 Fisher & Paykel CI905DTB4
User Manual
Fisher & Paykel CI905DTB4
User Manual