Page 3 - Tables of Contents
3 Tables of Contents PRECAUTIONS ���������������������������������������������������������������������������������������������������������������������������������� 4 SPECIFICATIONS ����������������������������������������������������������������������������� �����������������������������������������...
Page 4 - SPECIFICATIONS
4 PRECAUTIONS TO AVOID POSSIBLE EXPOSURE TO EXCESSIVE MICROWAVE ENERGY (a) Do not attemp to operate this oven with the door open since open door operation can result in harmful exposure to microwave energy. It is important not to tamper with the safety interlocks. (b) Do not place any object between...
Page 5 - IMPORTANT SAFETY INSTRUCTIONS; WARNING
5 IMPORTANT SAFETY INSTRUCTIONS When using electrical appliances basic safety precautions should be followed, including the following: WARNING - To reduce the risk of burns, electric shock, fire, injury to persons or exposure to excessive microwave energy: 1� Read all instructions before using the a...
Page 6 - DANGER
6 To reduce the risk of injury to persons: 1� Do not overheat the liquid. 2� Stir the liquid both before and halfway through heating it. 3� Do not use straight-sided containers with narrow necks. 4� After heating, allow the container to stand in the microwave oven for a short time before removing th...
Page 8 - UTENSILS; MATERIALS TO AVOID IN MICROWAVE OVEN
8 UTENSILS ! CAUTION – Personal Injury Hazard Tightly-closed utensils could explode. Closed containers should be opened and plastic pouches should be pierced before cooking. See the instructions on “Materials you can use in microwave oven or to be avoided in microwave oven.” There may be certain non...
Page 9 - MATERIALS YOU CAN USE IN MICROWAVE OVEN
9 Utensils Remarks Aluminum foil Shielding only. Small smooth pieces can be used to cover thin parts of meat or poultry to prevent overcooking. Arcing can occur if foil is too close to oven walls. The foil should be at least 1 inch (2.5cm) away from oven walls. Browning dish Follow manufacturer* ins...
Page 10 - SETTING UP OUR OVEN; Names of Oven Parts and Accessories
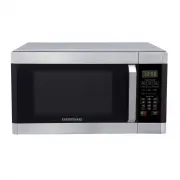
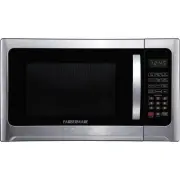
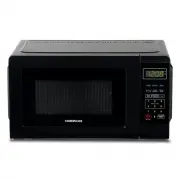
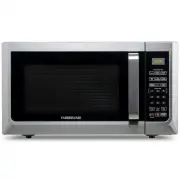
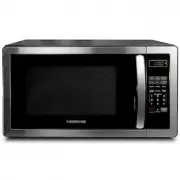
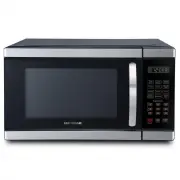
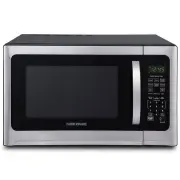
10 SETTING UP OUR OVEN Names of Oven Parts and Accessories Remove the oven and all materials from the carton and oven cavity. Your oven comes with the following accessories. Glass tray (turntable) Turntable ring assembly Instruction manual Turntable Installation A) Control panel B) Turntable shaft C...
Page 12 - CONTROL PANEL
12 CONTROL PANEL 1. Time Defrost2. Time Cook3. Power (1 power levels) 0 4. Clock5. Auto Cook Menu (Popcorn, Potato, Pizza, Frozen Vegetable, Beverage, Dinner Plate) 6. Number Pad (0-9)7. Stop/CANCEL (Before cooking starts, press to clear all previous settings; during cooking, press once to stop oven...
Page 13 - OPERATION
13 OPERATION 1. POWER LEVEL 10 Power levels are available 2. CLOCK SETTING (1) Press “Clock", “00:00” will display. (2) Press the number keys and enter the current time. For example, time is 10:12 now, please press “1, 0, 1, 2” in turn. (3) Press “Clock“ to finish clock setting. “:” will flash a...
Page 18 - MAINTENANCE; Troubleshooting
18 MAINTENANCE Troubleshooting Check your problem by using the chart below and try the solutions for each problem. If the microwave oven still does not work properly, contact the nearest authorized service center Trouble Possible Cause Possible Remedy Oven will not start a. Electrical cord for oven ...
Page 19 - ONE YEAR LIMITED WARRANTY
19 ONE YEAR LIMITED WARRANTY This warranty applies to products purchased and used in the U.S and Canada. This is the only express warranty for this product and is in lieu of any other warranty or condition. This product is warranted to be free from defects in material and workmanship for a period of...