Falcon ELAS90DFCR - Manuals
User Manual Falcon ELAS90DFCR


Summary
2 Australia Contents Before you start... 3 Cooker Overview 5 Hotplate Burners 5 The Griddle 6 The Wok Cradle 7 The Glide-out Grill 8 The Ovens 9 The Clock 10 Multi-Function Oven 11 The Handyrack (Main Oven) 13 Tips on Cooking with the Timer 13 Oven Cooking chart - Conventional and Fan Ovens 14 Gener...
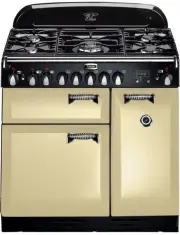
3 Australia Before you start... Thank you for buying this Elan cooker. It should give you many years' trouble-free cooking if installed and operated correctly. It is therefore important that you read this section before you start, particularly if you have not used a dual fuel cooker before.This appl...
4 Australia Cooking high moisture content foods can create a ‘steam burst’ when the oven door is opened. When opening the oven, stand well back and allow any steam to disperse. Always keep combustible materials, e.g. curtains, and flammable liquids a safe distance away from your cooker.Do not spray a...
Falcon Ovens Manuals
-
 Falcon CDL110DFBL-BR
User Manual
Falcon CDL110DFBL-BR
User Manual
-
 Falcon CDL110DFBL-CH
User Manual
Falcon CDL110DFBL-CH
User Manual
-
 Falcon CDL110DFBL-CHLPG
User Manual
Falcon CDL110DFBL-CHLPG
User Manual
-
 Falcon CDL110DFCR-BR
User Manual
Falcon CDL110DFCR-BR
User Manual
-
 Falcon CDL110DFCR-CH
User Manual
Falcon CDL110DFCR-CH
User Manual
-
 Falcon CDL110DFCR-CHLPG
User Manual
Falcon CDL110DFCR-CHLPG
User Manual
-
 Falcon CDL110DFCY-BR
User Manual
Falcon CDL110DFCY-BR
User Manual
-
 Falcon CDL110DFCY-CH
User Manual
Falcon CDL110DFCY-CH
User Manual
-
 Falcon CDL110DFCY-CHLPG
User Manual
Falcon CDL110DFCY-CHLPG
User Manual
-
 Falcon CDL110DFLT-CH
User Manual
Falcon CDL110DFLT-CH
User Manual
-
 Falcon CDL110DFMGBR
User Manual
Falcon CDL110DFMGBR
User Manual
-
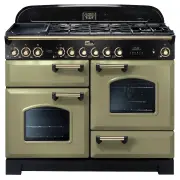 Falcon CDL110DFOG-BR
User Manual
Falcon CDL110DFOG-BR
User Manual
-
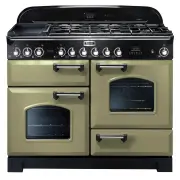 Falcon CDL110DFOG-CH
User Manual
Falcon CDL110DFOG-CH
User Manual
-
 Falcon CDL110DFOG-CHLPG
User Manual
Falcon CDL110DFOG-CHLPG
User Manual
-
 Falcon CDL110DFRB-BR
User Manual
Falcon CDL110DFRB-BR
User Manual
-
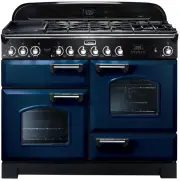 Falcon CDL110DFRB-CH
User Manual
Falcon CDL110DFRB-CH
User Manual
-
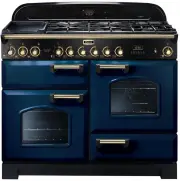
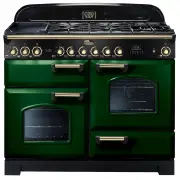 Falcon CDL110DFRG-BR
User Manual
Falcon CDL110DFRG-BR
User Manual
-
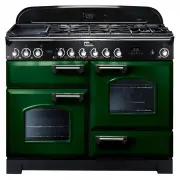 Falcon CDL110DFRG-CH
User Manual
Falcon CDL110DFRG-CH
User Manual
-
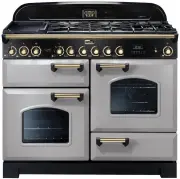 Falcon CDL110DFRP-BR
User Manual
Falcon CDL110DFRP-BR
User Manual
-
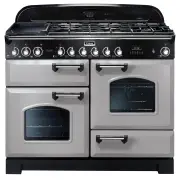 Falcon CDL110DFRP-CH
User Manual
Falcon CDL110DFRP-CH
User Manual