Falcon CLAS110DFFWH-CH - Manuals
Falcon CLAS110DFFWH-CH Oven – User Manual in PDF format online.
Manuals:
User Manual Falcon CLAS110DFFWH-CH


Summary
Contents 1. Before you Start... 1 Installation and Maintenance 1 Peculiar Smells 1 If You Smell Gas 1 Ventilation 1 Personal Safety 1 Cleaning 2 2. Cooker Overview 3 Hotplate Burners 3 Wok Burner 4 The Wok Cradle 5 The Griddle 5 Warmer 5 The Grill 6 The Ovens 7 Operating the Ovens 7 The Clock 8 Acce...
1 This User Guide covers a number of different models. Although some of the illustrations will look different to your particular model the functions will be the same. We hope the meaning is clear. n n This appliance is designed for domestic cooking only. Using it for any other purpose could invalida...
2 Cooking high moisture content foods can create a ‘steam burst’ when an oven door is opened. When opening the oven stand well back and allow any steam to disperse. ArtNo.324-0001 Steam burst n n Always keep combustible materials, e.g. curtains, and flammable liquids a safe distance away from your c...
Falcon Ovens Manuals
-
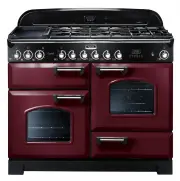
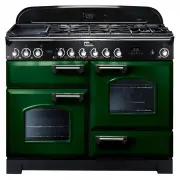
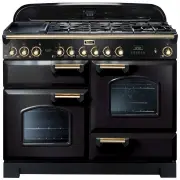 Falcon CDL110DFBL-BR
User Manual
Falcon CDL110DFBL-BR
User Manual
-
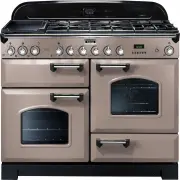
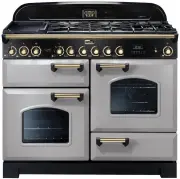
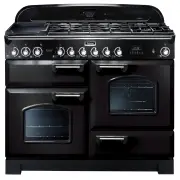 Falcon CDL110DFBL-CH
User Manual
Falcon CDL110DFBL-CH
User Manual
-
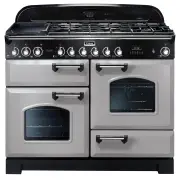
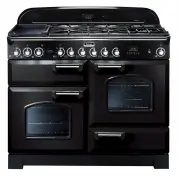 Falcon CDL110DFBL-CHLPG
User Manual
Falcon CDL110DFBL-CHLPG
User Manual
-
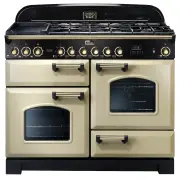 Falcon CDL110DFCR-BR
User Manual
Falcon CDL110DFCR-BR
User Manual
-
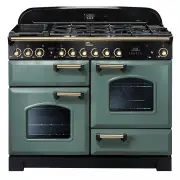
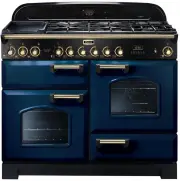
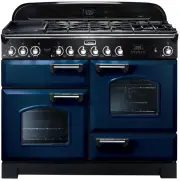
 Falcon CDL110DFCR-CH
User Manual
Falcon CDL110DFCR-CH
User Manual
-
 Falcon CDL110DFCR-CHLPG
User Manual
Falcon CDL110DFCR-CHLPG
User Manual
-
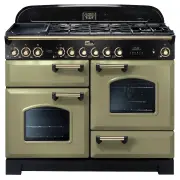
 Falcon CDL110DFCY-BR
User Manual
Falcon CDL110DFCY-BR
User Manual
-
 Falcon CDL110DFCY-CH
User Manual
Falcon CDL110DFCY-CH
User Manual
-
 Falcon CDL110DFCY-CHLPG
User Manual
Falcon CDL110DFCY-CHLPG
User Manual
-
 Falcon CDL110DFLT-CH
User Manual
Falcon CDL110DFLT-CH
User Manual
-
 Falcon CDL110DFMGBR
User Manual
Falcon CDL110DFMGBR
User Manual
-
 Falcon CDL110DFOG-BR
User Manual
Falcon CDL110DFOG-BR
User Manual
-
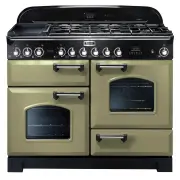 Falcon CDL110DFOG-CH
User Manual
Falcon CDL110DFOG-CH
User Manual
-
 Falcon CDL110DFOG-CHLPG
User Manual
Falcon CDL110DFOG-CHLPG
User Manual
-
 Falcon CDL110DFRB-BR
User Manual
Falcon CDL110DFRB-BR
User Manual
-
 Falcon CDL110DFRB-CH
User Manual
Falcon CDL110DFRB-CH
User Manual
-
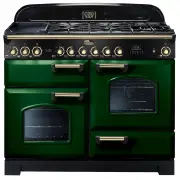 Falcon CDL110DFRG-BR
User Manual
Falcon CDL110DFRG-BR
User Manual
-
 Falcon CDL110DFRG-CH
User Manual
Falcon CDL110DFRG-CH
User Manual
-
 Falcon CDL110DFRP-BR
User Manual
Falcon CDL110DFRP-BR
User Manual
-
 Falcon CDL110DFRP-CH
User Manual
Falcon CDL110DFRP-CH
User Manual