Euromaid EG90S - Manuals
User Manual Euromaid EG90S


Summary
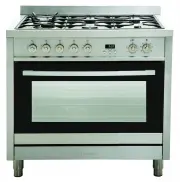
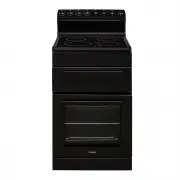
EG90S 900mm Dual Fuel Upright Page 1 Dear Customer: Thank you for choosing our product. This appliance is easy to use; please read this manual carefully before installing and using the appliance. The correct indications in the manual are for the best installation, use and care of the appliance. You ...
Page 2 EG90S 900mm Dual Fuel Upright 2 Index Instructions for installation: I nstallation and gas connection Ventilation Adaptation to different types of gas Setting the minimum flame Burner and injector characteristic table Instructions for use Description of the main parts of the appliance Ignitio...
Page 4 EG90S 900mm Dual Fuel Upright Warning: Never use the food-warmer drawer set at the bottom of the range to store inflammable substances or matters that cannot withstand heat such as: Wood, paper, spray cans, rags, etc. This electric appliance complies with the following directives: -89/336/EEC...
Euromaid Ovens Manuals
-
 Euromaid BT44
User Manual
Euromaid BT44
User Manual
-
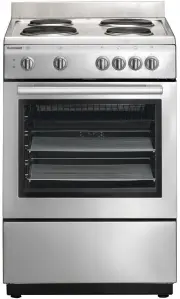
 Euromaid CDDS60
User Manual
Euromaid CDDS60
User Manual
-
 Euromaid CDDW60
User Manual
Euromaid CDDW60
User Manual
-
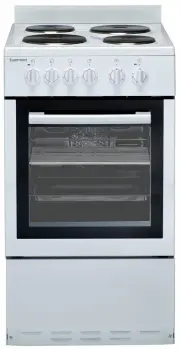
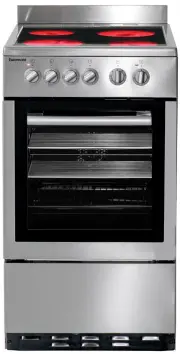 Euromaid CS50
User Manual
Euromaid CS50
User Manual
-
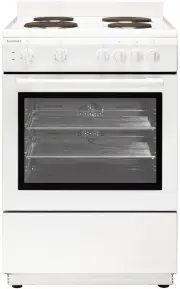
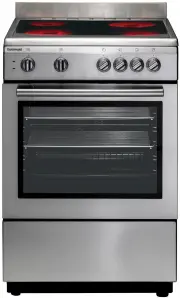 Euromaid CS60
User Manual
Euromaid CS60
User Manual
-
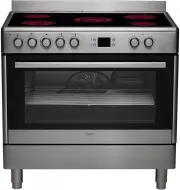 Euromaid CS90S
User Manual
Euromaid CS90S
User Manual
-
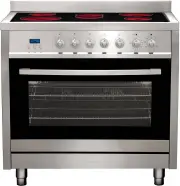 Euromaid CS9TS
User Manual
Euromaid CS9TS
User Manual
-
 Euromaid CUF54
User Manual
Euromaid CUF54
User Manual
-
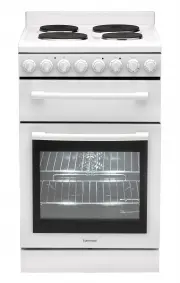
 Euromaid CW50
User Manual
Euromaid CW50
User Manual
-
 Euromaid CW60
User Manual
Euromaid CW60
User Manual
-
 Euromaid EDF90S
User Manual
Euromaid EDF90S
User Manual
-
 Euromaid EFF54SS
User Manual
Euromaid EFF54SS
User Manual
-
 Euromaid EFF54W
User Manual
Euromaid EFF54W
User Manual
-
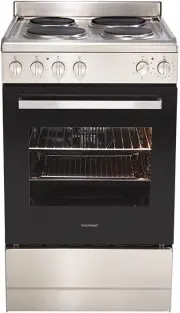
 Euromaid EFS54FC-SGB
User Manual
Euromaid EFS54FC-SGB
User Manual
-
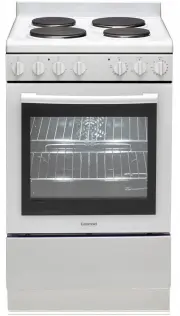
 Euromaid EFS54RC-DCB
User Manual
Euromaid EFS54RC-DCB
User Manual
-
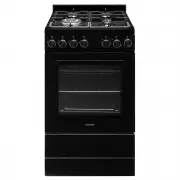
 Euromaid ES60
User Manual
Euromaid ES60
User Manual
-
 Euromaid EW50
User Manual
Euromaid EW50
User Manual
-
 Euromaid EW60
User Manual
Euromaid EW60
User Manual
-
 Euromaid F54EW
User Manual
Euromaid F54EW
User Manual
-
 Euromaid F54RW
User Manual
Euromaid F54RW
User Manual