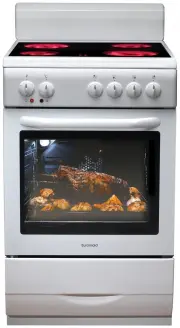
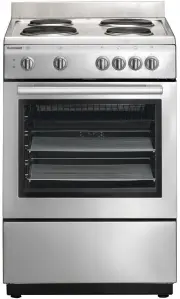
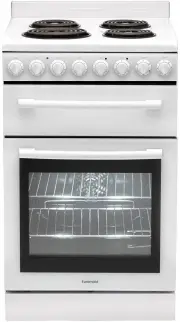
Euromaid EFS54RC-DCB - Manuals
User Manual Euromaid EFS54RC-DCB


Summary
USER MANUAL PG 3 Conditions of use................................................................................................. 4Safety precautions.............................................................................................. 4Other important safety information......................
USER MANUAL PG 4 • This appliance is not intended for use by persons (including children) with reduced physical, sensory or mental capabilities, or lack of experience and knowledge, unless they have been given supervision or instruction concerning use of the appliance by a person responsible for the...
USER MANUAL PG 5 WARNINGS FOR USE GRILL WARNINGS • DO NOT leave grill on unattended. • DO NOT cover the grill tray wire rack with foil. • Trying to grill food more than 25mm thick under grill can be a fire hazard. Trim excess fat from fatty meats, such as pork and lamb. • Fat left on a grill tray is...
Euromaid Ovens Manuals
-
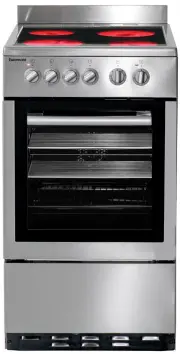
 Euromaid BT44
User Manual
Euromaid BT44
User Manual
-
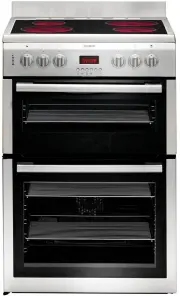 Euromaid CDDS60
User Manual
Euromaid CDDS60
User Manual
-
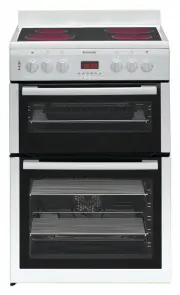 Euromaid CDDW60
User Manual
Euromaid CDDW60
User Manual
-
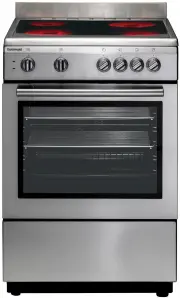
 Euromaid CS50
User Manual
Euromaid CS50
User Manual
-
 Euromaid CS60
User Manual
Euromaid CS60
User Manual
-
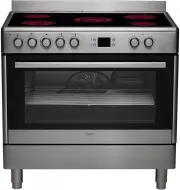 Euromaid CS90S
User Manual
Euromaid CS90S
User Manual
-
 Euromaid CS9TS
User Manual
Euromaid CS9TS
User Manual
-
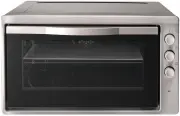
 Euromaid CUF54
User Manual
Euromaid CUF54
User Manual
-
 Euromaid CW50
User Manual
Euromaid CW50
User Manual
-
 Euromaid CW60
User Manual
Euromaid CW60
User Manual
-
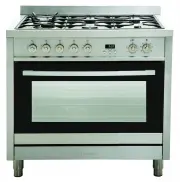
 Euromaid EDF90S
User Manual
Euromaid EDF90S
User Manual
-
 Euromaid EFF54SS
User Manual
Euromaid EFF54SS
User Manual
-
 Euromaid EFF54W
User Manual
Euromaid EFF54W
User Manual
-
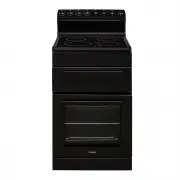
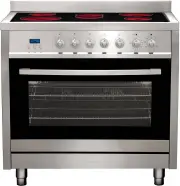
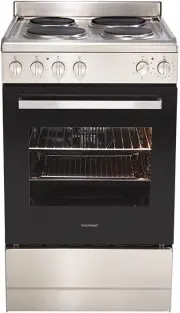
 Euromaid EFS54FC-SGB
User Manual
Euromaid EFS54FC-SGB
User Manual
-
 Euromaid EG90S
User Manual
Euromaid EG90S
User Manual
-
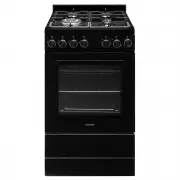
 Euromaid ES60
User Manual
Euromaid ES60
User Manual
-
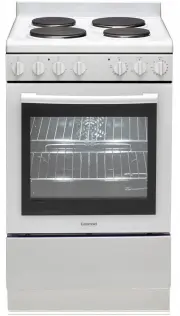
 Euromaid EW50
User Manual
Euromaid EW50
User Manual
-
 Euromaid EW60
User Manual
Euromaid EW60
User Manual
-
 Euromaid F54EW
User Manual
Euromaid F54EW
User Manual
-
 Euromaid F54RW
User Manual
Euromaid F54RW
User Manual