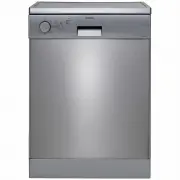
Euromaid EDWB16S - Manuals
User Manual Euromaid EDWB16S


Summary
Explanation of symbols Throughout this User Manual the following symbols are used: C Important information or usefulhints about usage. A Warning for hazardous situationswith regard to life and property. B Warning for electric shock. Packaging materials of the product are manufactured from recyclable...
CONTENTS ,16758&7,216)256$)(7<$1'(19,5210(17 General safety .......................................4Intended use ..........................................4Children’s safety .................................... 5Disposing of packaging material ........ 5Transportation of the product ............
Dishwasher / User’s Manual 5 / 48 EN *OTUSVDUJPOTGPSTBGFUZBOEFOWJSPONFOU • 5IJTBQQMJBODFJTJOUFOEFEUPCFVTFEJOIPVTFIPMEBOETJNJMBSBQQMJDBUJPOTTVDIBT P 4UBGGLJUDIFOBSFBTJOTIPQTPGGJDFTBOEPUIFSXPSLJOHFOWJSPONFOUT P 'BSNIPVTFT P #ZDMJFOUTJOIPUFMTNPUFMTBOEPUIFSSFTJEFOUJBMUZQFFOWJSPONFOUT P #FEBOECSFBLGBTUUZ...
Euromaid Dishwashers Manuals
-
 Euromaid BG14BM
User Manual
Euromaid BG14BM
User Manual
-
 Euromaid DR14S
User Manual
Euromaid DR14S
User Manual
-
 Euromaid DR14W
User Manual
Euromaid DR14W
User Manual
-
 Euromaid DW24S
User Manual
Euromaid DW24S
User Manual
-
 Euromaid EBM14S
User Manual
Euromaid EBM14S
User Manual
-
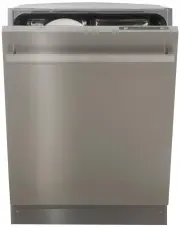 Euromaid EDI14S
User Manual
Euromaid EDI14S
User Manual
-
 Euromaid EDW14S
User Manual
Euromaid EDW14S
User Manual
-
 Euromaid EDW14W
User Manual
Euromaid EDW14W
User Manual
-
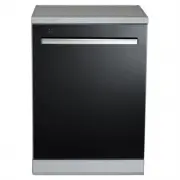 Euromaid EDWB14G
User Manual
Euromaid EDWB14G
User Manual
-
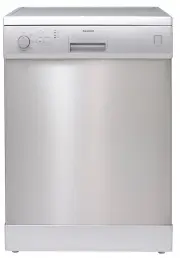
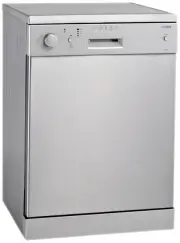
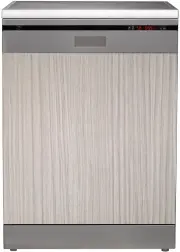
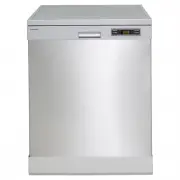 Euromaid EDWB14S
User Manual
Euromaid EDWB14S
User Manual
-
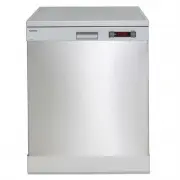
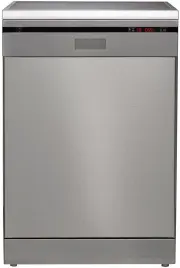
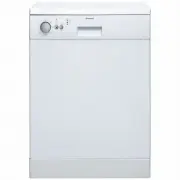
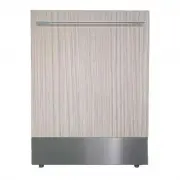
 Euromaid EDWB16G
User Manual
Euromaid EDWB16G
User Manual
-
 Euromaid FI14BM
User Manual
Euromaid FI14BM
User Manual
-
 Euromaid FIDWB14
User Manual
Euromaid FIDWB14
User Manual
-
 Euromaid FIDWB16
User Manual
Euromaid FIDWB16
User Manual
-
 Euromaid GDW45S-2
User Manual
Euromaid GDW45S-2
User Manual
-
 Euromaid IDW14B
User Manual
Euromaid IDW14B
User Manual
-
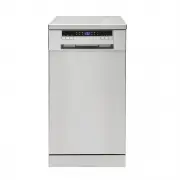
 Euromaid SI14BM
User Manual
Euromaid SI14BM
User Manual