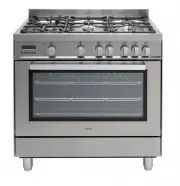
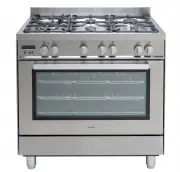
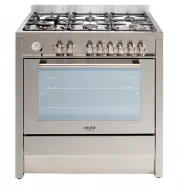
Euro Appliances EV900DPSX - Manuals
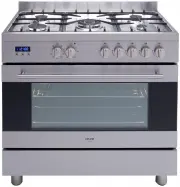
User Manual Euro Appliances EV900DPSX


Summary
2 GENERAL INFORMATION WHEN YOU CALL FOR SERVICE When you call for service or order parts for your unit, be sure to give: 1. MODEL 2. SERIAL NUMBER 3. COLOUR 4. PART NAME and/or description of problem 5. YOUR FULL NAME, ADDRESS, and HOME TELEPHONE NUMBER and BUSINESS TELEPHONE NUMBER IF APPROPRIATE. ...
3 min.100 mm "0" mm "0" mm min "60" mm min "60" mm "0" mm "0" mm Fig. A Clearances to combustible materials "Any adjoining wall surface (side or rear) situated within 200mm of any hob burner must be a suitable non-combustible material from the edge...
Instruction assembly crossbar reinforced legs 1. Recline the cooker on the back as ( This must be done by two operators) Take the two reinforcement bars from the box positioned inside the cavity of the oven Place the two reinforcement bars as the image ( The two reinforcement bars are ambidextrous) ...
Euro Appliances Ovens Manuals
-
 Euro Appliances ECSH900AN
User Manual
Euro Appliances ECSH900AN
User Manual
-
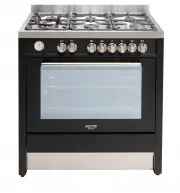
 Euro Appliances ECSH900BG
User Manual
Euro Appliances ECSH900BG
User Manual
-
 Euro Appliances ECSH900SX
User Manual
Euro Appliances ECSH900SX
User Manual
-
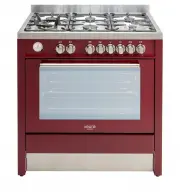
 Euro Appliances EFS900DTSX
User Manual
Euro Appliances EFS900DTSX
User Manual
-
 Euro Appliances EFS900EETSX
User Manual
Euro Appliances EFS900EETSX
User Manual
-
 Euro Appliances EFS900GX
User Manual
Euro Appliances EFS900GX
User Manual
-
 Euro Appliances EFS900LDX
User Manual
Euro Appliances EFS900LDX
User Manual
-
 Euro Appliances EFS90GFSX
User Manual
Euro Appliances EFS90GFSX
User Manual
-
 Euro Appliances EMCM45SX
User Manual
Euro Appliances EMCM45SX
User Manual
-
 Euro Appliances EMD900FAN
User Manual
Euro Appliances EMD900FAN
User Manual
-
 Euro Appliances EMD900FBG
User Manual
Euro Appliances EMD900FBG
User Manual
-
 Euro Appliances EMD900FX
User Manual
Euro Appliances EMD900FX
User Manual
-
 Euro Appliances EMEO45SX
User Manual
Euro Appliances EMEO45SX
User Manual
-
 Euro Appliances EMEO60SX
User Manual
Euro Appliances EMEO60SX
User Manual
-
 Euro Appliances EMPY60SX
User Manual
Euro Appliances EMPY60SX
User Manual
-
 Euro Appliances EMST45SX
User Manual
Euro Appliances EMST45SX
User Manual
-
 Euro Appliances EO604SX
User Manual
Euro Appliances EO604SX
User Manual
-
 Euro Appliances EO608SX
User Manual
Euro Appliances EO608SX
User Manual
-
 Euro Appliances EO60MXS
User Manual
Euro Appliances EO60MXS
User Manual
-
 Euro Appliances EO8060DX
User Manual
Euro Appliances EO8060DX
User Manual