Euro Appliances EV60M8SX - Manuals
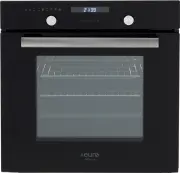
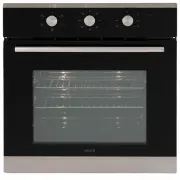
User Manual Euro Appliances EV60M8SX


Summary
FITTING THE OVEN INTO THE KITCHEN UNIT Fit the oven into the space provided in the kitchen unit; it may be fitted underneath a work top or into an upright cupboard. Fix the oven in position by screwing into place, using the two fixing holes in the frame. To locate the fixing holes,open the oven door...
PRODUCT DESCRIPTION K1 Remind button Start button K2 Time button Stop button Symbol Function description Oven Lamp: Which enables the user to observe the progress of cooking without opening the door. Oven lamp will light for all cooking functions. Deforst: The circulation of air at room temperature ...
2. Function Setting 1> Rotate " K1 " to choose the cooking function you require. The related symbol will illuminated .2> Rotate " K2 " to adjust the temperature.3> Press " " to confirm the start of cooking. 4> If step 2 is ignored, Press " " to confirm the...
Euro Appliances Ovens Manuals
-
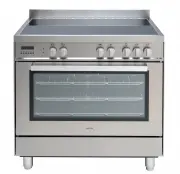 Euro Appliances EFS900EETSX
User Manual
Euro Appliances EFS900EETSX
User Manual
-
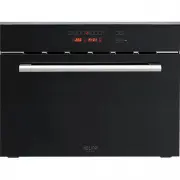 Euro Appliances EMCM45SX
User Manual
Euro Appliances EMCM45SX
User Manual
-
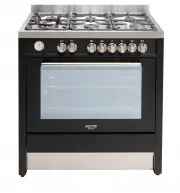 Euro Appliances EMD900FAN
User Manual
Euro Appliances EMD900FAN
User Manual
-
 Euro Appliances EMEO45SX
User Manual
Euro Appliances EMEO45SX
User Manual
-
 Euro Appliances EO604SX
User Manual
Euro Appliances EO604SX
User Manual
-
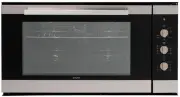 Euro Appliances EO900MX
User Manual
Euro Appliances EO900MX
User Manual
-
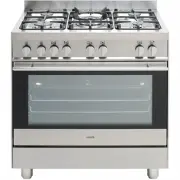 Euro Appliances ESG800GUSX
User Manual
Euro Appliances ESG800GUSX
User Manual
-
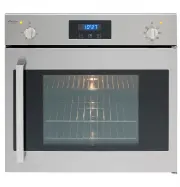 Euro Appliances ESM60SOTSX
User Manual
Euro Appliances ESM60SOTSX
User Manual