Euro Appliances EO8060DX - Manuals
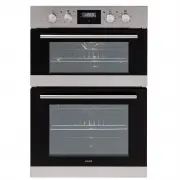
User Manual Euro Appliances EO8060DX


Summary
USER INSTRUCTIONS GENERAL WARNINGS Read carefully all the instructions contained in this booklet. It provides you with important information regarding the safe installation, use and maintenance of the appliance as well as useful advice for getting the best out of your oven. Keep this booklet in a sa...
Service Canters authorized by the manufacturer must be contacted in the following cases: - If in doubt about the soundness of the appliance after removing it from the packaging; - If the power supply cord has been damaged or needs to be replaced; - If the appliance breaks down or functions poorly; a...
performing installation or maintenance! Installation should be carried out according to the instructions by a professionally qualified person. The manufacturer declines all responsibility for any damage to persons, animals or things due to a wrong installation. - Fit the appliance into its surround ...
Euro Appliances Ovens Manuals
-
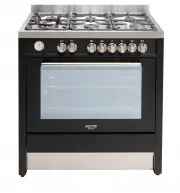
 Euro Appliances ECSH900AN
User Manual
Euro Appliances ECSH900AN
User Manual
-
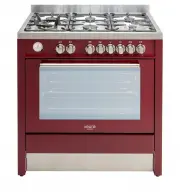
 Euro Appliances ECSH900BG
User Manual
Euro Appliances ECSH900BG
User Manual
-
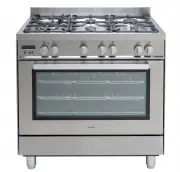
 Euro Appliances ECSH900SX
User Manual
Euro Appliances ECSH900SX
User Manual
-
 Euro Appliances EFS900DTSX
User Manual
Euro Appliances EFS900DTSX
User Manual
-
 Euro Appliances EFS900EETSX
User Manual
Euro Appliances EFS900EETSX
User Manual
-
 Euro Appliances EFS900GX
User Manual
Euro Appliances EFS900GX
User Manual
-
 Euro Appliances EFS900LDX
User Manual
Euro Appliances EFS900LDX
User Manual
-
 Euro Appliances EFS90GFSX
User Manual
Euro Appliances EFS90GFSX
User Manual
-
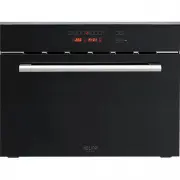 Euro Appliances EMCM45SX
User Manual
Euro Appliances EMCM45SX
User Manual
-
 Euro Appliances EMD900FAN
User Manual
Euro Appliances EMD900FAN
User Manual
-
 Euro Appliances EMD900FBG
User Manual
Euro Appliances EMD900FBG
User Manual
-
 Euro Appliances EMD900FX
User Manual
Euro Appliances EMD900FX
User Manual
-
 Euro Appliances EMEO45SX
User Manual
Euro Appliances EMEO45SX
User Manual
-
 Euro Appliances EMEO60SX
User Manual
Euro Appliances EMEO60SX
User Manual
-
 Euro Appliances EMPY60SX
User Manual
Euro Appliances EMPY60SX
User Manual
-
 Euro Appliances EMST45SX
User Manual
Euro Appliances EMST45SX
User Manual
-
 Euro Appliances EO604SX
User Manual
Euro Appliances EO604SX
User Manual
-
 Euro Appliances EO608SX
User Manual
Euro Appliances EO608SX
User Manual
-
 Euro Appliances EO60MXS
User Manual
Euro Appliances EO60MXS
User Manual
-
 Euro Appliances EO900MX
User Manual
Euro Appliances EO900MX
User Manual