Euro Appliances EMST45SX - Manuals
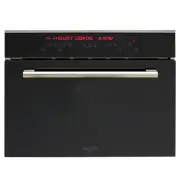
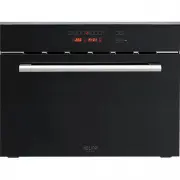
User Manual Euro Appliances EMST45SX


Summary
WARNINGS x This appliance is designed to be used by adults who are familiar with these user instructions. This appliance is not intended for use by persons (including children) with reduced physical, sensory or mental capabilities, or lack of experience and knowledge, unless they have been given sup...
INSTALLATION Remove the appliance from the package and check that the product and power cord are NOT damaged. Otherwise, contact the retailer before operating the appliance. Do not lift the product by the door handle. Packaging (e.g. paper, polystyrene) may be hazardous to children (danger of suffoc...
Oven preparation and pre-use N.B. Disconnect the oven from the mains power, or move the omnipolar switch to OFF, before cleaning the oven. Before using the oven, thoroughly clean the inside using a soft cloth or non-abrasive sponge dampened with warm water and washing-up liquid. Insert the grill and...
Euro Appliances Ovens Manuals
-
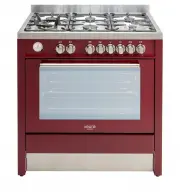
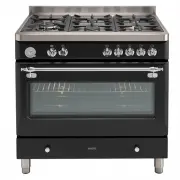 Euro Appliances ECSH900AN
User Manual
Euro Appliances ECSH900AN
User Manual
-
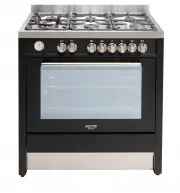
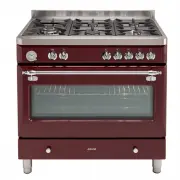 Euro Appliances ECSH900BG
User Manual
Euro Appliances ECSH900BG
User Manual
-
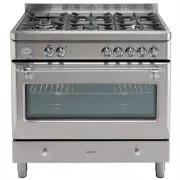 Euro Appliances ECSH900SX
User Manual
Euro Appliances ECSH900SX
User Manual
-
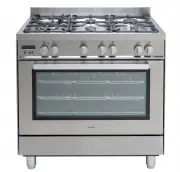
 Euro Appliances EFS900DTSX
User Manual
Euro Appliances EFS900DTSX
User Manual
-
 Euro Appliances EFS900EETSX
User Manual
Euro Appliances EFS900EETSX
User Manual
-
 Euro Appliances EFS900GX
User Manual
Euro Appliances EFS900GX
User Manual
-
 Euro Appliances EFS900LDX
User Manual
Euro Appliances EFS900LDX
User Manual
-
 Euro Appliances EFS90GFSX
User Manual
Euro Appliances EFS90GFSX
User Manual
-
 Euro Appliances EMCM45SX
User Manual
Euro Appliances EMCM45SX
User Manual
-
 Euro Appliances EMD900FAN
User Manual
Euro Appliances EMD900FAN
User Manual
-
 Euro Appliances EMD900FBG
User Manual
Euro Appliances EMD900FBG
User Manual
-
 Euro Appliances EMD900FX
User Manual
Euro Appliances EMD900FX
User Manual
-
 Euro Appliances EMEO45SX
User Manual
Euro Appliances EMEO45SX
User Manual
-
 Euro Appliances EMEO60SX
User Manual
Euro Appliances EMEO60SX
User Manual
-
 Euro Appliances EMPY60SX
User Manual
Euro Appliances EMPY60SX
User Manual
-
 Euro Appliances EO604SX
User Manual
Euro Appliances EO604SX
User Manual
-
 Euro Appliances EO608SX
User Manual
Euro Appliances EO608SX
User Manual
-
 Euro Appliances EO60MXS
User Manual
Euro Appliances EO60MXS
User Manual
-
 Euro Appliances EO8060DX
User Manual
Euro Appliances EO8060DX
User Manual
-
 Euro Appliances EO900MX
User Manual
Euro Appliances EO900MX
User Manual