Euro Appliances EMPY60SX - Manuals
User Manual Euro Appliances EMPY60SX


Summary
DESCRIPTION OF THE CONTROL PANEL Description of the keys 1. Keys for setting the cooking chamber temperature and display area for the temperature indication ( + to increase, - to decrease, min 50°C – max 250°C) 2. and 9. Menu options scrolling keys3. Keys for programming timed events and display are...
FIRST START-UP When the oven is connected to the mains power supply for the first time, a wait message ( WAIT ) and some product identification information appear on the display. Do not touch the keypad during this brief period. N.B. It is normal that the tangential fan turns on and then shuts off a...
COOKING CYCLES AVAILABLE Function name and symbol Function description Min-Max chamber temp. (°C) Default chamber temp. (°C) TRADITIONAL COOKING This method of cooking provides traditional cooking with heat from the top and lower elements. Particularly suitable for traditional roasting and baking on...
Euro Appliances Ovens Manuals
-
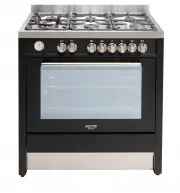
 Euro Appliances ECSH900AN
User Manual
Euro Appliances ECSH900AN
User Manual
-
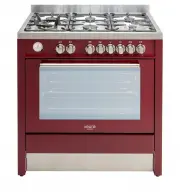
 Euro Appliances ECSH900BG
User Manual
Euro Appliances ECSH900BG
User Manual
-
 Euro Appliances ECSH900SX
User Manual
Euro Appliances ECSH900SX
User Manual
-
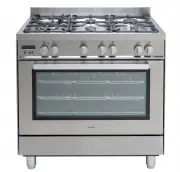
 Euro Appliances EFS900DTSX
User Manual
Euro Appliances EFS900DTSX
User Manual
-
 Euro Appliances EFS900EETSX
User Manual
Euro Appliances EFS900EETSX
User Manual
-
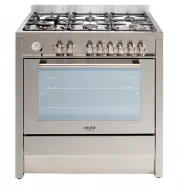
 Euro Appliances EFS900GX
User Manual
Euro Appliances EFS900GX
User Manual
-
 Euro Appliances EFS900LDX
User Manual
Euro Appliances EFS900LDX
User Manual
-
 Euro Appliances EFS90GFSX
User Manual
Euro Appliances EFS90GFSX
User Manual
-
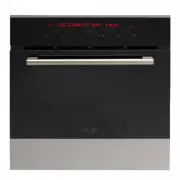
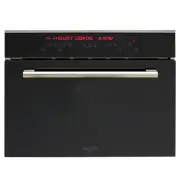
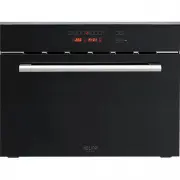 Euro Appliances EMCM45SX
User Manual
Euro Appliances EMCM45SX
User Manual
-
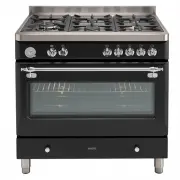
 Euro Appliances EMD900FAN
User Manual
Euro Appliances EMD900FAN
User Manual
-
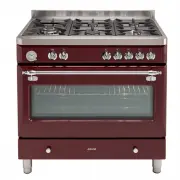
 Euro Appliances EMD900FBG
User Manual
Euro Appliances EMD900FBG
User Manual
-
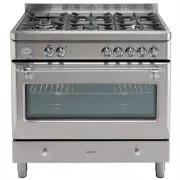
 Euro Appliances EMD900FX
User Manual
Euro Appliances EMD900FX
User Manual
-
 Euro Appliances EMEO45SX
User Manual
Euro Appliances EMEO45SX
User Manual
-
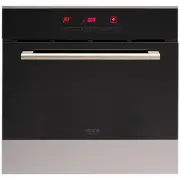 Euro Appliances EMEO60SX
User Manual
Euro Appliances EMEO60SX
User Manual
-
 Euro Appliances EMST45SX
User Manual
Euro Appliances EMST45SX
User Manual
-
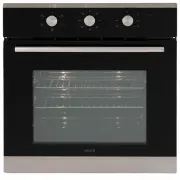 Euro Appliances EO604SX
User Manual
Euro Appliances EO604SX
User Manual
-
 Euro Appliances EO608SX
User Manual
Euro Appliances EO608SX
User Manual
-
 Euro Appliances EO60MXS
User Manual
Euro Appliances EO60MXS
User Manual
-
 Euro Appliances EO8060DX
User Manual
Euro Appliances EO8060DX
User Manual
-
 Euro Appliances EO900MX
User Manual
Euro Appliances EO900MX
User Manual