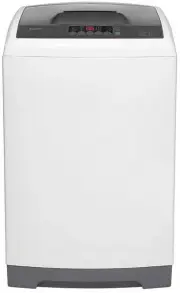
Esatto ETLW55 - Manuals
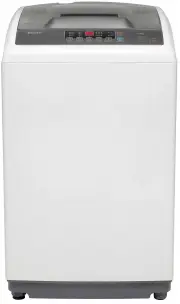
User Manual Esatto ETLW55


Summary
Page: 4 User Manual: Safety Instructions → This appliance is only intended for use within the interior of a domestic environment. → This appliance is not intended for use by persons (including children) with reduced physical, sensory or mental capabilities, or lack of experience and knowledge, unles...
Page: 5 User Manual: Safety Instructions 2 Safety and precautions Please do not directly rinse the machine with water when cleaning. Please do not install the machine in damp and raining environment to avoid electric shocking, catching fire, faults and distortion accidents. No dampness No rinsing 小天...
Page: 7 User Manual: Please use correct power source. Please do not pull out or insert the plug with wet hands to avoid electric shocking. Please ensure that the water inlet pipeis connected and the tap is opened before washing clothes. Customers are not allowed to changethe power line without permi...
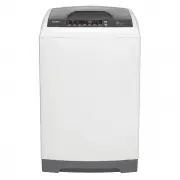
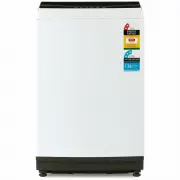
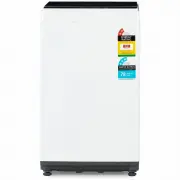
Esatto Washing Machines Manuals
-
 Esatto EFLW10W
User Manual
Esatto EFLW10W
User Manual
-
 Esatto EFLW500
User Manual
Esatto EFLW500
User Manual
-
 Esatto EFLW6
User Manual
Esatto EFLW6
User Manual
-
 Esatto EFLW600
User Manual
Esatto EFLW600
User Manual
-
 Esatto EFLW75
User Manual
Esatto EFLW75
User Manual
-
 Esatto EFLW800
User Manual
Esatto EFLW800
User Manual
-
 Esatto EFLW9
User Manual
Esatto EFLW9
User Manual
-
 Esatto ETL6
User Manual
Esatto ETL6
User Manual
-
 Esatto ETL6.1
User Manual
Esatto ETL6.1
User Manual
-
 Esatto ETL8
User Manual
Esatto ETL8
User Manual
-
 Esatto ETL8.1
User Manual
Esatto ETL8.1
User Manual
-
 Esatto ETL95
User Manual
Esatto ETL95
User Manual
-
 Esatto ETL95.1
User Manual
Esatto ETL95.1
User Manual
-
 Esatto ETLW100B
User Manual
Esatto ETLW100B
User Manual
-
 Esatto ETLW55B
User Manual
Esatto ETLW55B
User Manual
-
 Esatto ETLW7
User Manual
Esatto ETLW7
User Manual
-
 Esatto ETLW70B
User Manual
Esatto ETLW70B
User Manual
-
 Esatto ETLW80B
User Manual
Esatto ETLW80B
User Manual