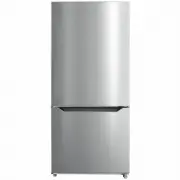
Esatto EBF69S - Manuals
User Manual Esatto EBF69S


Summary
esatto.house 03 Contents 02 Welcome 04 Safety Instructions 05 Installation 08 Product Overview 08 Operation 09 Cleaning 09 Maintenance 10 Troubleshooting 11 Energy Tips & Disposal 17 Purchase Details 18 Warranty Information
User Manual 04 Safety Instructions 1 1. SAFETY WARNINGS 1) WARNING― Keep ventilation openings, in the appliance enclosure or in the built-in structure, clear of obstruction. 2) WARNING― Do not use mechanical devices or other means to accelerate the defrosting process, other than those recommended by...
esatto.house 05 Installation 2 2.1 Location When selecting a position for your unit you should make sure the floor is fat and firm, and the room is well ventilated. Avoid locating your unit near a heat source, e.g. cooker, boiler or radiator. Also avoid direct sunlight as it may increase the electri...
Esatto Refrigerators Manuals
-
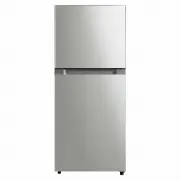
 Esatto EBF112S
User Manual
Esatto EBF112S
User Manual
-
 Esatto EBF112W
User Manual
Esatto EBF112W
User Manual
-
 Esatto EBF129S
User Manual
Esatto EBF129S
User Manual
-
 Esatto EBF129W
User Manual
Esatto EBF129W
User Manual
-
 Esatto EBF196W
User Manual
Esatto EBF196W
User Manual
-
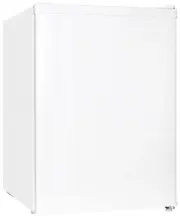
 Esatto EBF46S
User Manual
Esatto EBF46S
User Manual
-
 Esatto EBF46W
User Manual
Esatto EBF46W
User Manual
-
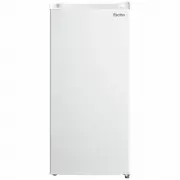
 Esatto EBF69W
User Manual
Esatto EBF69W
User Manual
-
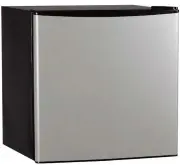
 Esatto EBF91B
User Manual
Esatto EBF91B
User Manual
-
 Esatto EBF91S
User Manual
Esatto EBF91S
User Manual
-
 Esatto EBF95BG
User Manual
Esatto EBF95BG
User Manual
-
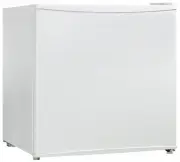
 Esatto EBF95W
User Manual
Esatto EBF95W
User Manual
-
 Esatto EBF95WG
User Manual
Esatto EBF95WG
User Manual
-
 Esatto EBM325W
User Manual
Esatto EBM325W
User Manual
-
 Esatto EBM325X
User Manual
Esatto EBM325X
User Manual
-
 Esatto EBM529W
User Manual
Esatto EBM529W
User Manual
-
 Esatto EBM529X
User Manual
Esatto EBM529X
User Manual
-
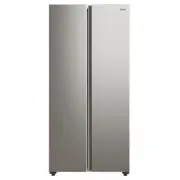 Esatto ESBS460X
User Manual
Esatto ESBS460X
User Manual
-
 Esatto ETM203S
User Manual
Esatto ETM203S
User Manual
-
 Esatto ETM203W
User Manual
Esatto ETM203W
User Manual