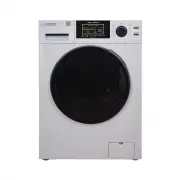
Equator EZ 5500 CV WHITE - Manuals
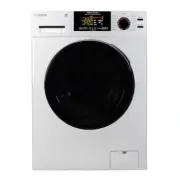
User Manual Equator EZ 5500 CV WHITE


Summary
Introduction ................................................................. Warranty .................................................................... Technical Data .............................................................. Important Safety Instructions ......................................
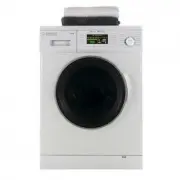
1 Congratulations on your new Super Combo! In addition to its contemporary design, this is a highly sophisticated engineered product that will give you many years of satisfaction. Lint Free Maintenance The Washer + Dryer’s sleek and compact size design makes it a perfect appliance for any kitchen or...
2 Your appliance is protected by this warranty under normal, personal, family or household use for 1 Year Parts & Labor and limited commercial use (90 days) in USA and Canada. WARRANTY Consolidated Brands undertakes to the consumer/owner to repair or, at our option, to replace any part of this p...
Equator Washing Machines Manuals
-
 Equator 4400 N + PBK 1070
User Manual
Equator 4400 N + PBK 1070
User Manual
-
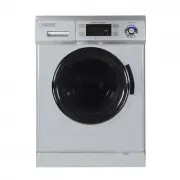
 Equator 4400NSilver+Det
User Manual
Equator 4400NSilver+Det
User Manual
-
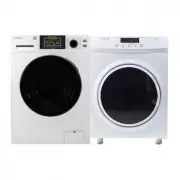
 Equator 4600 + APS 270 + EPG 2500
User Manual
Equator 4600 + APS 270 + EPG 2500
User Manual
-
 Equator 826 Washer W
User Manual
Equator 826 Washer W
User Manual
-
 Equator DW 824 N
User Manual
Equator DW 824 N
User Manual
-
 Equator EW 824 N
User Manual
Equator EW 824 N
User Manual
-
 Equator EW 824 N + ED 850
User Manual
Equator EW 824 N + ED 850
User Manual
-
 Equator EW 824N + ED 852
User Manual
Equator EW 824N + ED 852
User Manual
-
 Equator EW 826 + ED 860
User Manual
Equator EW 826 + ED 860
User Manual
-
 Equator EW 826 B
User Manual
Equator EW 826 B
User Manual
-
 Equator EW 826 S
User Manual
Equator EW 826 S
User Manual
-
 Equator EW 835
User Manual
Equator EW 835
User Manual
-
 Equator EW 835 + ED 850
User Manual
Equator EW 835 + ED 850
User Manual
-
 Equator EW 835 + ED 852
User Manual
Equator EW 835 + ED 852
User Manual
-
 Equator EW 835 + ED 860
User Manual
Equator EW 835 + ED 860
User Manual
-
 Equator EW824 N + ED860
User Manual
Equator EW824 N + ED860
User Manual
-
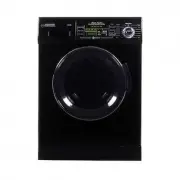
 Equator EZ 4400 CV BLACK
User Manual
Equator EZ 4400 CV BLACK
User Manual
-
 Equator EZ 4400 CV SILVER
User Manual
Equator EZ 4400 CV SILVER
User Manual
-
 Equator EZ 4400 N BLACK
User Manual
Equator EZ 4400 N BLACK
User Manual
-
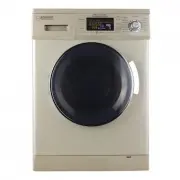 Equator EZ 4400 N GOLD
User Manual
Equator EZ 4400 N GOLD
User Manual