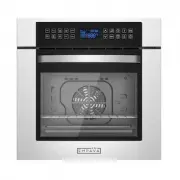
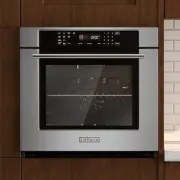
Empava EMPV-24WOC17 - Manuals

User Manual Empava EMPV-24WOC17


Summary
1 DEAR CUSTOMER The oven is exceptionally easy to use and extremely efficient. After reading the instruction manual, operating the oven will be easy. Before being packaged and leaving the manufacturer, the oven was thoroughly checked with regard to safety and functionality. Before using the appl...
2 TABLE OF CONTENTS Safety instructions........................................................................................3 Description of the appliance.........................................................................7 Installation.......................................................
3 SAFETY INSTRUCTIONS 1) Proper Installation – Be sure your appliance is properly installed and grounded by a qualified technician. 2) Never Use Your Appliance for Warming or Heating the Room. 3) Do Not Leave Children Alone – Children should not be left alone or unattended in area where applianc...
Empava Ovens Manuals
-
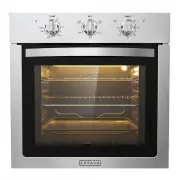
 Empava EMP-24SOB14
User Manual
Empava EMP-24SOB14
User Manual
-
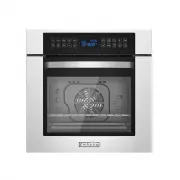
 Empava EMP-24SOC02
User Manual
Empava EMP-24SOC02
User Manual
-
 Empava EMP-24SOC17
User Manual
Empava EMP-24SOC17
User Manual
-
 Empava EMP-24WO08
User Manual
Empava EMP-24WO08
User Manual
-
 Empava EMP-24WO09
User Manual
Empava EMP-24WO09
User Manual
-
 Empava EMP-24WO10L
User Manual
Empava EMP-24WO10L
User Manual
-
 Empava EMP-24WO11L
User Manual
Empava EMP-24WO11L
User Manual
-
Empava EMP-24WOA01
User Manual
-
 Empava EMP-24WOB14
User Manual
Empava EMP-24WOB14
User Manual
-
 Empava EMP-24WOC02
User Manual
Empava EMP-24WOC02
User Manual
-
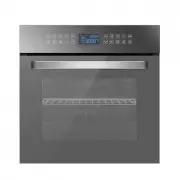
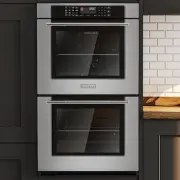
 Empava EMP-24WOC17
User Manual
Empava EMP-24WOC17
User Manual
-
 Empava EMP-30WO03
User Manual
Empava EMP-30WO03
User Manual
-
 Empava EMP-30WO04
User Manual
Empava EMP-30WO04
User Manual
-
 Empava EMP-30WO05
User Manual
Empava EMP-30WO05
User Manual
-
 Empava EMPV-24SOC02
User Manual
Empava EMPV-24SOC02
User Manual
-
 Empava EMPV-24WO08
User Manual
Empava EMPV-24WO08
User Manual
-
 Empava EMPV-24WO09
User Manual
Empava EMPV-24WO09
User Manual
-
 Empava EMPV-24WO10L
User Manual
Empava EMPV-24WO10L
User Manual
-
Empava EMPV-24WO11L
User Manual
-
 Empava EMPV-24WOE40L
User Manual
Empava EMPV-24WOE40L
User Manual