Electrolux ESE6977SG - Manuals
User Manual Electrolux ESE6977SG


Summary
Thank you for purchasing an Electrolux appliance. You’ve chosen a product that brings with it decades of professional experience and innovation. Ingenious and stylish, it has been designed with you in mind. So whenever you use it, you can be safe in the knowledge that you’ll get great results every ...
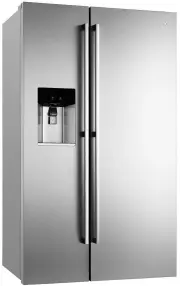
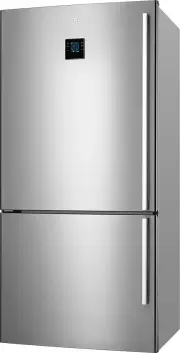
Before you use the refrigerator, we recommend that you read through the relevant sections of this manual, which provides the description of your appliance and its functions.To avoid the risks that are always present when you use an appliance, it is important that the appliance is installed correctly...
Read the following carefully to avoid damage or injury This symbol indicates never to do this This symbol indicates always do this It is important to use your refrigerator safely. Check these safety points before using your refrigerator. The appliance must be plugged into its own dedicated 220-240V,...
Electrolux Refrigerators Manuals
-
 Electrolux EAL 6140 WOU (WOW)
User Manual
Electrolux EAL 6140 WOU (WOW)
User Manual
-
 Electrolux EAL 6141 WOX
User Manual
Electrolux EAL 6141 WOX
User Manual
-
 Electrolux EAL 6142 BOX
User Manual
Electrolux EAL 6142 BOX
User Manual
-
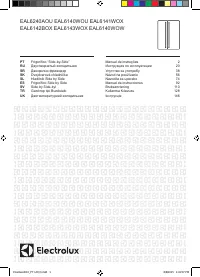 Electrolux EAL 6143 WOX
User Manual
Electrolux EAL 6143 WOX
User Manual
-
 Electrolux EAL 6240 AOU
User Manual
Electrolux EAL 6240 AOU
User Manual
-
 Electrolux EBE4300SDLH
User Manual
Electrolux EBE4300SDLH
User Manual
-
 Electrolux EBE4300SDRH
User Manual
Electrolux EBE4300SDRH
User Manual
-
 Electrolux EBE4307SDLH
User Manual
Electrolux EBE4307SDLH
User Manual
-
 Electrolux EBE4307SDRH
User Manual
Electrolux EBE4307SDRH
User Manual
-
 Electrolux EBE4507BB-L
User Manual
Electrolux EBE4507BB-L
User Manual
-
 Electrolux EBE4507BB-R
User Manual
Electrolux EBE4507BB-R
User Manual
-
 Electrolux EBE4507BC-L
User Manual
Electrolux EBE4507BC-L
User Manual
-
 Electrolux EBE4507BC-R
User Manual
Electrolux EBE4507BC-R
User Manual
-
 Electrolux EBE4507SA-L
User Manual
Electrolux EBE4507SA-L
User Manual
-
 Electrolux EBE4507SA-R
User Manual
Electrolux EBE4507SA-R
User Manual
-
 Electrolux EBE4507SB-L
User Manual
Electrolux EBE4507SB-L
User Manual
-
 Electrolux EBE4507SB-R
User Manual
Electrolux EBE4507SB-R
User Manual
-
 Electrolux EBE4507SC-L
User Manual
Electrolux EBE4507SC-L
User Manual
-
 Electrolux EBE4507SC-R
User Manual
Electrolux EBE4507SC-R
User Manual
-
 Electrolux EBE5100SDLH
User Manual
Electrolux EBE5100SDLH
User Manual