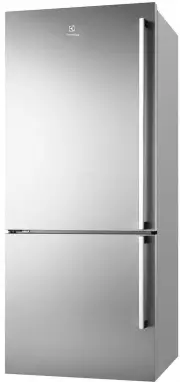
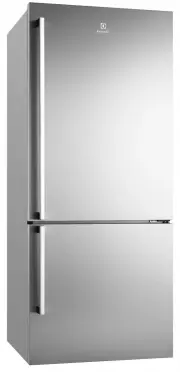
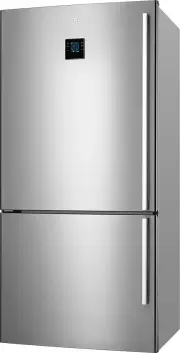
Electrolux EQE6207SD - Manuals
User Manual Electrolux EQE6207SD


Summary
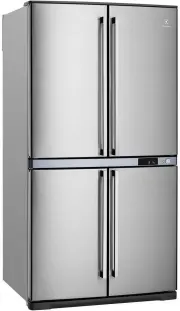
3 WaRnIng! • If pressurised aerosol containers bear the word ‘flammable’ and/or a small flame symbol, do not store them inside any refrigerator. If you do so you may cause an explosion. • When you dispose of refrigerators and freezers, remove any doors. Children can suffocate if they get trapped ins...
4 four-door refrigerator 1 Door bins (3 pcs EQE6807SD) (2 pcs EQE6207SD) 1a Door bin - Only applies to EQE6807DS 2 Adjustable glass shelf (2 pcs) 3 Fixed glass shelf 4 Bottle bin (left) 5 Crisper 6 Freezer drawer (small) 7 Freezer drawer (large) 8 Rollers (4 pcs) 9 Adjustable feet (2 pcs) 10 Kickpla...
5 Control panel Default setting When power is turned on the display defaults to: In the event of a power failure, the Timer feature is cancelled and will need to be re-entered if required. NOTE: When no operation is made for 30 seconds, the display will automatically return to the initial content. T...
Electrolux Refrigerators Manuals
-
 Electrolux EAL 6140 WOU (WOW)
User Manual
Electrolux EAL 6140 WOU (WOW)
User Manual
-
 Electrolux EAL 6141 WOX
User Manual
Electrolux EAL 6141 WOX
User Manual
-
 Electrolux EAL 6142 BOX
User Manual
Electrolux EAL 6142 BOX
User Manual
-
 Electrolux EAL 6143 WOX
User Manual
Electrolux EAL 6143 WOX
User Manual
-
 Electrolux EAL 6240 AOU
User Manual
Electrolux EAL 6240 AOU
User Manual
-
 Electrolux EBE4300SDLH
User Manual
Electrolux EBE4300SDLH
User Manual
-
 Electrolux EBE4300SDRH
User Manual
Electrolux EBE4300SDRH
User Manual
-
 Electrolux EBE4307SDLH
User Manual
Electrolux EBE4307SDLH
User Manual
-
 Electrolux EBE4307SDRH
User Manual
Electrolux EBE4307SDRH
User Manual
-
 Electrolux EBE4507BB-L
User Manual
Electrolux EBE4507BB-L
User Manual
-
 Electrolux EBE4507BB-R
User Manual
Electrolux EBE4507BB-R
User Manual
-
 Electrolux EBE4507BC-L
User Manual
Electrolux EBE4507BC-L
User Manual
-
 Electrolux EBE4507BC-R
User Manual
Electrolux EBE4507BC-R
User Manual
-
 Electrolux EBE4507SA-L
User Manual
Electrolux EBE4507SA-L
User Manual
-
 Electrolux EBE4507SA-R
User Manual
Electrolux EBE4507SA-R
User Manual
-
 Electrolux EBE4507SB-L
User Manual
Electrolux EBE4507SB-L
User Manual
-
 Electrolux EBE4507SB-R
User Manual
Electrolux EBE4507SB-R
User Manual
-
 Electrolux EBE4507SC-L
User Manual
Electrolux EBE4507SC-L
User Manual
-
 Electrolux EBE4507SC-R
User Manual
Electrolux EBE4507SC-R
User Manual
-
 Electrolux EBE5100SDLH
User Manual
Electrolux EBE5100SDLH
User Manual