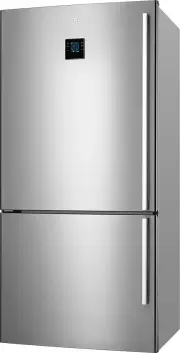
Electrolux EHE6899BA - Manuals

User Manual Electrolux EHE6899BA


Summary
WARNING This symbol indicates information concerning your personal safety. CAUTION This symbol indicates information on how to avoid damaging the refrigerator IMPORTANT This symbol indicates tips and information about use of the refrigerator ENVIRONMENT This symbol indicates tips and information abo...
NOTE: You must read these warnings carefully before installing or using the refrigerator. If you need assistance, contact your customer care centre. The manufacturer will not accept liability, should these instructions or any other safety instructions incorporated in this book be ignored. WARNING • ...
FEATURES AT A GLANCE 1 12 TasteLock TM crisper 23 2 Ice Maker Air distributor - Multiflow 13 TasteLock TM crisper 24 3 Deodoriser 14 Left Snack Zone compartment 25 4 Water filter 15 Right Snack Zone Compartment 26 5 Flip up glass shelf 16 Upper fixed door bin 27 6 Slide/fold glass shelf 17 Left fixe...
Electrolux Refrigerators Manuals
-
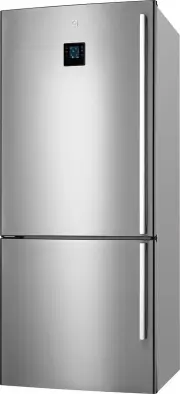
 Electrolux EAL 6140 WOU (WOW)
User Manual
Electrolux EAL 6140 WOU (WOW)
User Manual
-
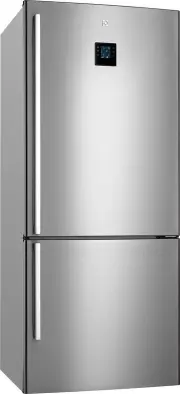
 Electrolux EAL 6141 WOX
User Manual
Electrolux EAL 6141 WOX
User Manual
-
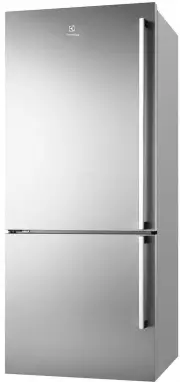
 Electrolux EAL 6142 BOX
User Manual
Electrolux EAL 6142 BOX
User Manual
-
 Electrolux EAL 6143 WOX
User Manual
Electrolux EAL 6143 WOX
User Manual
-
 Electrolux EAL 6240 AOU
User Manual
Electrolux EAL 6240 AOU
User Manual
-
 Electrolux EBE4300SDLH
User Manual
Electrolux EBE4300SDLH
User Manual
-
 Electrolux EBE4300SDRH
User Manual
Electrolux EBE4300SDRH
User Manual
-
 Electrolux EBE4307SDLH
User Manual
Electrolux EBE4307SDLH
User Manual
-
 Electrolux EBE4307SDRH
User Manual
Electrolux EBE4307SDRH
User Manual
-
 Electrolux EBE4507BB-L
User Manual
Electrolux EBE4507BB-L
User Manual
-
 Electrolux EBE4507BB-R
User Manual
Electrolux EBE4507BB-R
User Manual
-
 Electrolux EBE4507BC-L
User Manual
Electrolux EBE4507BC-L
User Manual
-
 Electrolux EBE4507BC-R
User Manual
Electrolux EBE4507BC-R
User Manual
-
 Electrolux EBE4507SA-L
User Manual
Electrolux EBE4507SA-L
User Manual
-
 Electrolux EBE4507SA-R
User Manual
Electrolux EBE4507SA-R
User Manual
-
 Electrolux EBE4507SB-L
User Manual
Electrolux EBE4507SB-L
User Manual
-
 Electrolux EBE4507SB-R
User Manual
Electrolux EBE4507SB-R
User Manual
-
 Electrolux EBE4507SC-L
User Manual
Electrolux EBE4507SC-L
User Manual
-
 Electrolux EBE4507SC-R
User Manual
Electrolux EBE4507SC-R
User Manual
-
 Electrolux EBE5100SDLH
User Manual
Electrolux EBE5100SDLH
User Manual