Electrolux EHE5167SB - Manuals
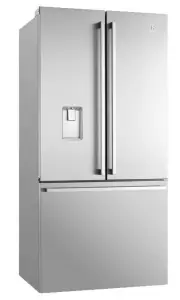
User Manual Electrolux EHE5167SB


Summary
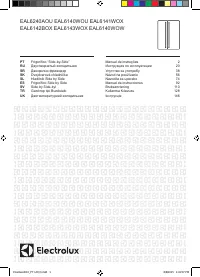
2 3 Before using your appliance 3 Important safety instructions 4 General warnings 5 Features 6 Installing your new appliance 7 Initial start up 8 Ice and water installation 12 Electronic display controls 12 – Controlling the temperature12 – Changing the freezer temperature12 – Changing the refriger...
3 BEFORE USING YOUR APPLIANCE Before you use the refrigerator, we recommend that you read through the relevant sections of this manual, which provides the description of your appliance and its functions.To avoid the risks that are always present when you use an appliance, it is important that the ap...
4 GENERAL WARNINGS Read the following carefully to avoid damage or injury This symbol indicates never to do this This symbol indicates always do this It is important to use your refrigerator safely. Check these safety points before using your refrigerator. The appliance must be plugged into its own ...
Electrolux Refrigerators Manuals
-
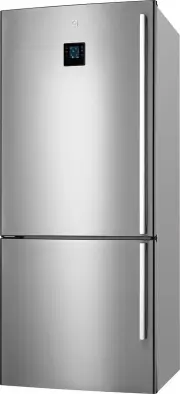
 Electrolux EAL 6140 WOU (WOW)
User Manual
Electrolux EAL 6140 WOU (WOW)
User Manual
-
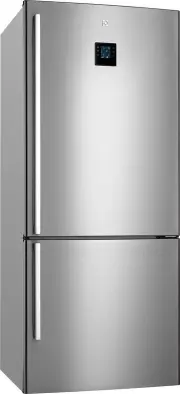
 Electrolux EAL 6141 WOX
User Manual
Electrolux EAL 6141 WOX
User Manual
-
 Electrolux EAL 6142 BOX
User Manual
Electrolux EAL 6142 BOX
User Manual
-
 Electrolux EAL 6143 WOX
User Manual
Electrolux EAL 6143 WOX
User Manual
-
 Electrolux EAL 6240 AOU
User Manual
Electrolux EAL 6240 AOU
User Manual
-
 Electrolux EBE4300SDLH
User Manual
Electrolux EBE4300SDLH
User Manual
-
 Electrolux EBE4300SDRH
User Manual
Electrolux EBE4300SDRH
User Manual
-
 Electrolux EBE4307SDLH
User Manual
Electrolux EBE4307SDLH
User Manual
-
 Electrolux EBE4307SDRH
User Manual
Electrolux EBE4307SDRH
User Manual
-
 Electrolux EBE4507BB-L
User Manual
Electrolux EBE4507BB-L
User Manual
-
 Electrolux EBE4507BB-R
User Manual
Electrolux EBE4507BB-R
User Manual
-
 Electrolux EBE4507BC-L
User Manual
Electrolux EBE4507BC-L
User Manual
-
 Electrolux EBE4507BC-R
User Manual
Electrolux EBE4507BC-R
User Manual
-
 Electrolux EBE4507SA-L
User Manual
Electrolux EBE4507SA-L
User Manual
-
 Electrolux EBE4507SA-R
User Manual
Electrolux EBE4507SA-R
User Manual
-
 Electrolux EBE4507SB-L
User Manual
Electrolux EBE4507SB-L
User Manual
-
 Electrolux EBE4507SB-R
User Manual
Electrolux EBE4507SB-R
User Manual
-
 Electrolux EBE4507SC-L
User Manual
Electrolux EBE4507SC-L
User Manual
-
 Electrolux EBE4507SC-R
User Manual
Electrolux EBE4507SC-R
User Manual
-
 Electrolux EBE5100SDLH
User Manual
Electrolux EBE5100SDLH
User Manual