Electrolux EDH804U5WB - Manuals
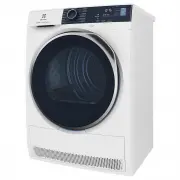
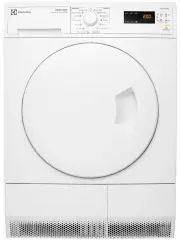
User Manual Electrolux EDH804U5WB


Summary
CONTENTS 1. SAFETY INFORMATION....................................................................................3 2. CONDITIONS OF USE....................................................................................... 5 3. SAFETY INSTRUCTIONS.......................................................
Warning / Caution-Safety information General information and tips Environmental information Subject to change without notice. 1. SAFETY INFORMATION Before the installation and use of the appliance, carefully read the supplied instructions. The manufacturer is not responsible if an incorrect installa...
• Do not use the appliance if items have been soiled with industrial chemicals. • Wipe away lint or packaging debris that has accumulated around the appliance. • Do not run the appliance without a filter. Clean the lint filter before or after each use. • Do not dry unwashed items in the tumble dryer...
Electrolux Dryers Manuals
-
 Electrolux EDC2075GDW
User Manual
Electrolux EDC2075GDW
User Manual
-
 Electrolux EDC2086GDW
User Manual
Electrolux EDC2086GDW
User Manual
-
 Electrolux EDC804BEWA
User Manual
Electrolux EDC804BEWA
User Manual
-
 Electrolux EDH3284PDW
User Manual
Electrolux EDH3284PDW
User Manual
-
 Electrolux EDH3586GDW
User Manual
Electrolux EDH3586GDW
User Manual
-
 Electrolux EDH3786GDW
User Manual
Electrolux EDH3786GDW
User Manual
-
 Electrolux EDH803BEWA
User Manual
Electrolux EDH803BEWA
User Manual
-
 Electrolux EDH803CEWA
User Manual
Electrolux EDH803CEWA
User Manual
-
 Electrolux EDH803R7WB
User Manual
Electrolux EDH803R7WB
User Manual
-
 Electrolux EDH803R9WB
User Manual
Electrolux EDH803R9WB
User Manual
-
 Electrolux EDH903BEWA
User Manual
Electrolux EDH903BEWA
User Manual
-
 Electrolux EDH903R9WB
User Manual
Electrolux EDH903R9WB
User Manual
-
 Electrolux EDV505
User Manual
Electrolux EDV505
User Manual
-
 Electrolux EDV5051
User Manual
Electrolux EDV5051
User Manual
-
 Electrolux EDV5552
User Manual
Electrolux EDV5552
User Manual
-
 Electrolux EDV6051
User Manual
Electrolux EDV6051
User Manual
-
 Electrolux EDV605H3WB
User Manual
Electrolux EDV605H3WB
User Manual
-
 Electrolux EDV605HQWA
User Manual
Electrolux EDV605HQWA
User Manual
-
Electrolux EDV605HQWA
Installation Manual
-
 Electrolux EDV6552
User Manual
Electrolux EDV6552
User Manual