Dyna-Glo KFA135H - Manuals

User Manual Dyna-Glo KFA135H


Summary
NEVER LEAVE THE HEATER UNATTENDED WHILE BURNING! IMPROPER USE OF THIS HEATER CAN RESULT IN SERIOUS INJURY OR DEATH FROM BURNS, FIRE, EXPLOSION, ELECTRICAL SHOCK AND/OR CARBON MONOXIDE POISONING. DANGER:: WARNINGS: 1. RISK OF INDOOR AIR POLLUTION! Hot while in operation. Do not touch. Keep children, ...
2 NEVER LEAVE THE HEATER UNATTENDED WHILE BURNING! ITEM E D I U G Y T E F A S - S N O I T U A C E R P N O I T C U D O R T N I . 1 S E R U T A E F . 2 Y L B M E S S A D N A G N I K C A P N U . 3 ) L I O L E U F 1 . O N R O K - 1 ( E N E S O R E K . 4 N G I S E D R E T A E H F O W E I V R E V O . 5 R ...
4 Figure 5. KFA125/210H2 MODELS 3. UNPACKING AND ASSEMBLY 1. REMOVE THE HEATER AND ALL PACKING MATERIALS FROM THE BOX. (Fig. 4 and 5) NOTE : Save the shipping carton and packing materials for future storage. Figure 4. KFA50H/75H MODELS KFA50H KFA75H KFA210H2 KFA125H Wheel Support Frame No Yes Yes Wh...
Dyna-Glo Heaters Manuals
-
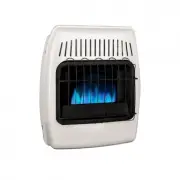
 Dyna-Glo BF10DTL-4
User Manual
Dyna-Glo BF10DTL-4
User Manual
-
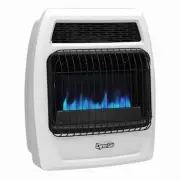
 Dyna-Glo BF10NMDG-4
User Manual
Dyna-Glo BF10NMDG-4
User Manual
-
 Dyna-Glo BF10PMDG-4
User Manual
Dyna-Glo BF10PMDG-4
User Manual
-
 Dyna-Glo BF20DTL-4
User Manual
Dyna-Glo BF20DTL-4
User Manual
-
Dyna-Glo BF20NMDG-4
User Manual
-
 Dyna-Glo BF20PMDG-4
User Manual
Dyna-Glo BF20PMDG-4
User Manual
-
 Dyna-Glo BF30DTL-4
User Manual
Dyna-Glo BF30DTL-4
User Manual
-
Dyna-Glo BF30NMDG-4
User Manual
-
 Dyna-Glo BF30PMDG-4
User Manual
Dyna-Glo BF30PMDG-4
User Manual
-
 Dyna-Glo EG10000DGP
User Manual
Dyna-Glo EG10000DGP
User Manual
-
 Dyna-Glo EG10000DH
User Manual
Dyna-Glo EG10000DH
User Manual
-
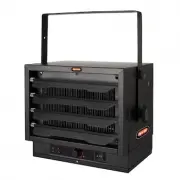
 Dyna-Glo EG4800DGP
User Manual
Dyna-Glo EG4800DGP
User Manual
-
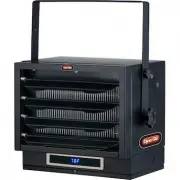
 Dyna-Glo EG5000DGP
User Manual
Dyna-Glo EG5000DGP
User Manual
-
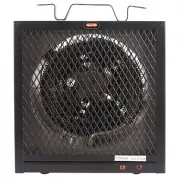
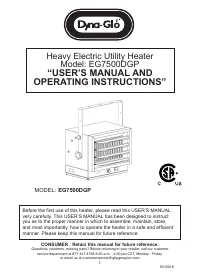 Dyna-Glo EG7500DGP
User Manual
Dyna-Glo EG7500DGP
User Manual
-
 Dyna-Glo EG7500DH
User Manual
Dyna-Glo EG7500DH
User Manual
-
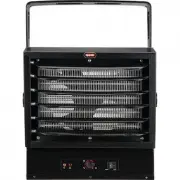
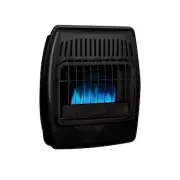
 Dyna-Glo HA1360BK
User Manual
Dyna-Glo HA1360BK
User Manual
-
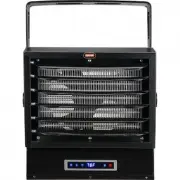
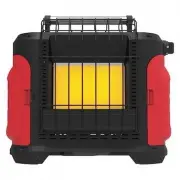
 Dyna-Glo HA1360R
User Manual
Dyna-Glo HA1360R
User Manual
-
 Dyna-Glo HA18R
User Manual
Dyna-Glo HA18R
User Manual
-
 Dyna-Glo HA2360R
User Manual
Dyna-Glo HA2360R
User Manual
-
 Dyna-Glo IBF10PMDG-4
User Manual
Dyna-Glo IBF10PMDG-4
User Manual