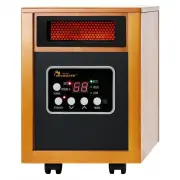
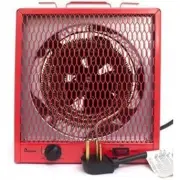
Dr. Infrared Heater DR-908 - Manuals
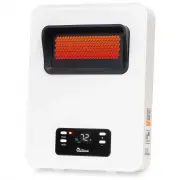
User Manual Dr. Infrared Heater DR-908


Summary
T CONGRATULATIONS! he Dr. Infrared Heater you have just purchased is a safe and powerful heater, designed to heat a room after a few minutes of operation. The far-infrared Quartz-PTC heating system is an excellent choice for safely heating whole room, while saving on heating costs. Additionally, thi...
operating and unattended. 4. Do not operate the heater with a damaged cord or plug, or after the heater malfunctions, has been dropped, or damaged in any manner. Return the heater to an authorized service facility for examination, electrical or mechanical adjustment, or repair. 5. Do not use outdoor...
outlet may result in overheating of the power cord or fire. 18. Make sure the plug is fully inserted into an appropriate receptacle. Be mindful that receptacles also deteriorate due to aging and continuous use. Check periodically for signs of overheating or deformations of the plug. If any overheati...
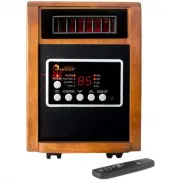
Dr. Infrared Heater Heaters Manuals
-
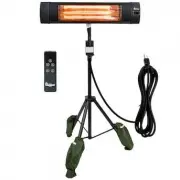
 Dr. Infrared Heater DR-122
User Manual
Dr. Infrared Heater DR-122
User Manual
-
 Dr. Infrared Heater DR-122X4
User Manual
Dr. Infrared Heater DR-122X4
User Manual
-
 Dr. Infrared Heater DR218-1500W
User Manual
Dr. Infrared Heater DR218-1500W
User Manual
-
 Dr. Infrared Heater DR218-3000W
User Manual
Dr. Infrared Heater DR218-3000W
User Manual
-
 Dr. Infrared Heater DR-222
User Manual
Dr. Infrared Heater DR-222
User Manual
-
 Dr. Infrared Heater DR-233
User Manual
Dr. Infrared Heater DR-233
User Manual
-
 Dr. Infrared Heater DR-238
User Manual
Dr. Infrared Heater DR-238
User Manual
-
 Dr. Infrared Heater DR-239
User Manual
Dr. Infrared Heater DR-239
User Manual
-
 Dr. Infrared Heater DR-338
User Manual
Dr. Infrared Heater DR-338
User Manual
-
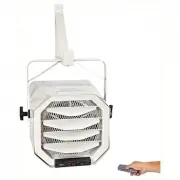 Dr. Infrared Heater DR-910F
User Manual
Dr. Infrared Heater DR-910F
User Manual
-
 Dr. Infrared Heater DR-910M
User Manual
Dr. Infrared Heater DR-910M
User Manual
-
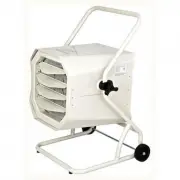
 Dr. Infrared Heater DR966
User Manual
Dr. Infrared Heater DR966
User Manual
-
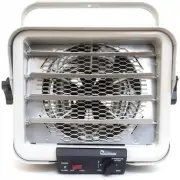
 Dr. Infrared Heater DR968
User Manual
Dr. Infrared Heater DR968
User Manual
-
 Dr. Infrared Heater DR-968
User Manual
Dr. Infrared Heater DR-968
User Manual
-
 Dr. Infrared Heater DR-968H
User Manual
Dr. Infrared Heater DR-968H
User Manual
-
 Dr. Infrared Heater DR-975
User Manual
Dr. Infrared Heater DR-975
User Manual
-
 Dr. Infrared Heater DR-978
User Manual
Dr. Infrared Heater DR-978
User Manual
-
 Dr. Infrared Heater DR-988
User Manual
Dr. Infrared Heater DR-988
User Manual
-
 Dr. Infrared Heater DR998
User Manual
Dr. Infrared Heater DR998
User Manual
-
 Dr. Infrared Heater DR-998
User Manual
Dr. Infrared Heater DR-998
User Manual