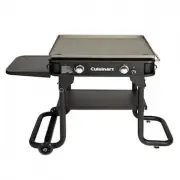
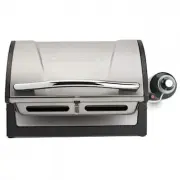
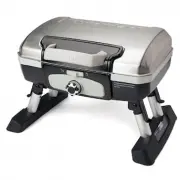
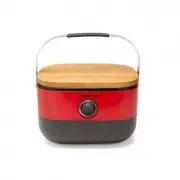
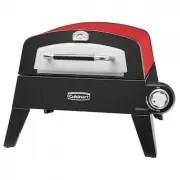
Cuisinart CPG-256 - Manuals
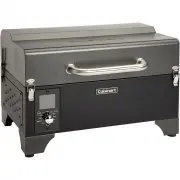
User Manual Cuisinart CPG-256


Summary
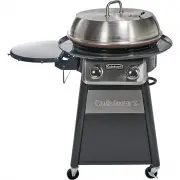
IMPORTANT: ALL INSTRUCTIONS AND SAFEGUARDS ON THIS SECTION MUST BE FOLLOWED TO PREVENT DAMAGE AND/OR INJURY. IMPORTANT SAFETY INFORMATION WARNING: For outdoor use only. Do not use near or inside a building, garage or any other enclosed area. WARNING: A MAJOR CAUSE OF FIRES IS FAILURE TO MAINTAIN REQ...
Cover …………….…………......………………………….………...….………….………….….…………………..……..1Safety Information……….….............……………………...………...….………….….………….……………..……..2Table of Contents……...........…….……………………..….………...….………….………………..……….…….…..3Exploded View…….................………….…………………….……………………..........................
GENERAL WARNINGS ----------------------------------------------------------------------------------- • DO NOT use on wood decks. Set up this grill on a hard, non-combustible smooth level surface. • In case of fire, turn the control “OFF” and allow the fire to burn out on its own. Do not unplug the g...
Cuisinart Grills Manuals
-
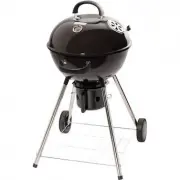
 Cuisinart CCG-190
User Manual
Cuisinart CCG-190
User Manual
-
 Cuisinart CCG-190RB
User Manual
Cuisinart CCG-190RB
User Manual
-
 Cuisinart CCG-216
User Manual
Cuisinart CCG-216
User Manual
-
 Cuisinart CCG-290
User Manual
Cuisinart CCG-290
User Manual
-
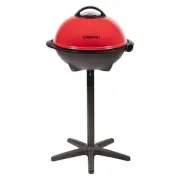 Cuisinart CEG-115
User Manual
Cuisinart CEG-115
User Manual
-
 Cuisinart CGG-0028
User Manual
Cuisinart CGG-0028
User Manual
-
 Cuisinart CGG-0036
User Manual
Cuisinart CGG-0036
User Manual
-
 Cuisinart CGG-059
User Manual
Cuisinart CGG-059
User Manual
-
 Cuisinart CGG-180
User Manual
Cuisinart CGG-180
User Manual
-
 Cuisinart CGG-180T
User Manual
Cuisinart CGG-180T
User Manual
-
 Cuisinart CGG-180TB
User Manual
Cuisinart CGG-180TB
User Manual
-
 Cuisinart CGG-180TS
User Manual
Cuisinart CGG-180TS
User Manual
-
 Cuisinart CGG-240
User Manual
Cuisinart CGG-240
User Manual
-
 Cuisinart CGG-306
User Manual
Cuisinart CGG-306
User Manual
-
 Cuisinart CGG-608
User Manual
Cuisinart CGG-608
User Manual
-
 Cuisinart CGG-750
User Manual
Cuisinart CGG-750
User Manual
-
 Cuisinart CGG-888
User Manual
Cuisinart CGG-888
User Manual
-
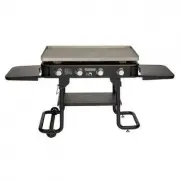
 Cuisinart CPG-465
User Manual
Cuisinart CPG-465
User Manual
-
 Cuisinart CPG-700
User Manual
Cuisinart CPG-700
User Manual
-
 Cuisinart CPO-401
User Manual
Cuisinart CPO-401
User Manual