Costway ES10114US-WH - Manuals

User Manual Costway ES10114US-WH


Summary
Before You Start CONTENTS Please read all instructions carefully. Retain instructions for future reference. Separate and count all parts and hardware. Read through each step carefully and follow the proper order. We recommend that, where possible, all items are assembled near to the area in which th...
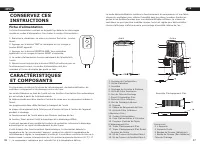
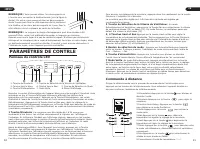
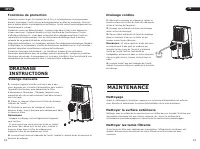
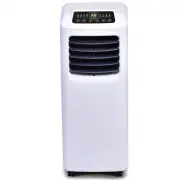
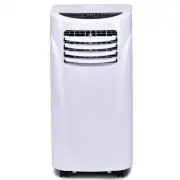
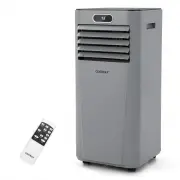
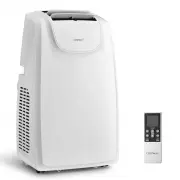
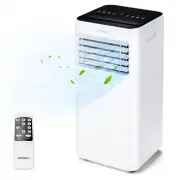
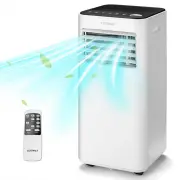
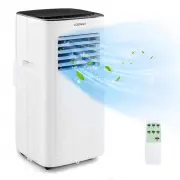
FEATURES AND COMPONENTS SAVE THESE INSTRUCTIONS 06 07 This air conditioner features cooling, dehumidification, fan-only, and continuous water drainage functions. The air louvers in top of the unit have an automatic air swing function that is activated from the remote control The remote control can b...
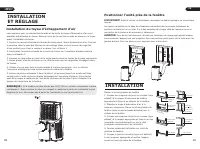
08 09 INSTALLATION AND ADJUSTMENT INSTALLATION The couplers for the inlet and outlet ends of the air exhaust hose are shipped preattached to the hose. Ensure that they are securely screwed into place on the hose before hose installation. 1. Insert the hose inlet end coupler into the air exhaust vent...
Costway Air Conditioners Manuals
-
 Costway EP22783
User Manual
Costway EP22783
User Manual
-
 Costway EP23048
User Manual
Costway EP23048
User Manual
-
 Costway EP23049
User Manual
Costway EP23049
User Manual
-
 Costway EP24618US
User Manual
Costway EP24618US
User Manual
-
 Costway EP24619US
User Manual
Costway EP24619US
User Manual
-
 Costway ES10113US-WH
User Manual
Costway ES10113US-WH
User Manual
-
 Costway FP10110US-BK
User Manual
Costway FP10110US-BK
User Manual
-
 Costway FP10110US-WH
User Manual
Costway FP10110US-WH
User Manual
-
 Costway FP10111US-GR
User Manual
Costway FP10111US-GR
User Manual
-
 Costway FP10116US-WH
User Manual
Costway FP10116US-WH
User Manual
-
 Costway FP10120US-GR
User Manual
Costway FP10120US-GR
User Manual
-
 Costway FP10234US-WH
User Manual
Costway FP10234US-WH
User Manual
-
 Costway FP10261US-BK
User Manual
Costway FP10261US-BK
User Manual
-
 Costway FP10263US-BK
User Manual
Costway FP10263US-BK
User Manual
-
 Costway FP10265US-BK
User Manual
Costway FP10265US-BK
User Manual
-
 Costway FP10267US-WH
User Manual
Costway FP10267US-WH
User Manual
-
 Costway FP10268US-WH
User Manual
Costway FP10268US-WH
User Manual
-
 Costway FP10343US-WH
User Manual
Costway FP10343US-WH
User Manual
-
 Costway FP10347US-NY
User Manual
Costway FP10347US-NY
User Manual
-
 Costway GHM0542
User Manual
Costway GHM0542
User Manual