Costway EP25150US-SL - Manuals

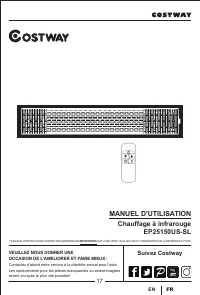
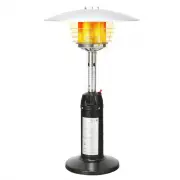
User Manual Costway EP25150US-SL


Summary
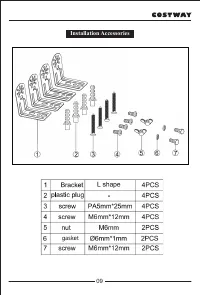
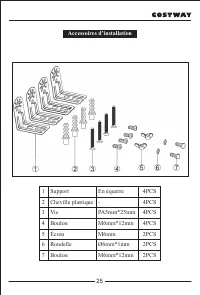
Contact Us! Do NOT return this item. Contact our friendly customer service department for help first. E-mail US: [email protected] UK: [email protected] Before You Start Before You Start Please read all instructions carefully. Retain instructions for future reference. Separate and count all parts an...
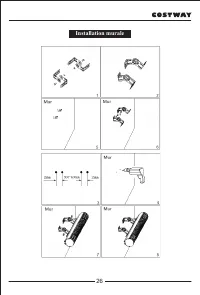
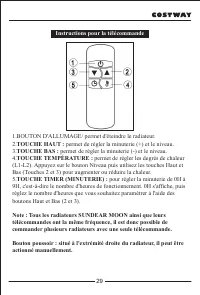
ASSEMBLY & OPERATION INSTRUCTION Please read carefully and Save this instruction THESE INSTRUCTIONS SHOULD BE READ CAREFULLY AND RETAINED FOR FUTURE REFERENCE, We cannot be liable for any damages caused by failure to observe these instructions. READ CAREFULLY-The infrared heater is designed for ...
9. To protect against electric shock, do not immerse cord or plug in water or any other liquid. 10. Do not insert or allow foreign objects to enter any ventilation or exhaust opening , as this may cause an electric shock, fire or damage to the heater. 11.Always unplug the heater when not in use. 12....
Costway Heaters Manuals
-
 Costway EP23759
User Manual
Costway EP23759
User Manual
-
 Costway EP24918US-BK
User Manual
Costway EP24918US-BK
User Manual
-
 Costway EP24918US-WH
User Manual
Costway EP24918US-WH
User Manual
-
 Costway EP24919US-BK
User Manual
Costway EP24919US-BK
User Manual
-
 Costway EP24919US-WH
User Manual
Costway EP24919US-WH
User Manual
-
 Costway EP25436US-BK
User Manual
Costway EP25436US-BK
User Manual
-
 Costway EP25437US-WH
User Manual
Costway EP25437US-WH
User Manual
-
 Costway ES10201US-BK
User Manual
Costway ES10201US-BK
User Manual
-
 Costway ES10202US-BK
User Manual
Costway ES10202US-BK
User Manual
-
 Costway FP10067US-BK
User Manual
Costway FP10067US-BK
User Manual
-
 Costway GHM0093
User Manual
Costway GHM0093
User Manual
-
 Costway GHM0101
User Manual
Costway GHM0101
User Manual
-
 Costway GHM0472
User Manual
Costway GHM0472
User Manual
-
 Costway GHM0473
User Manual
Costway GHM0473
User Manual
-
 Costway GHM0489
User Manual
Costway GHM0489
User Manual
-
 Costway NP10036
User Manual
Costway NP10036
User Manual