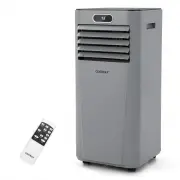
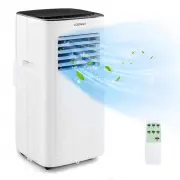
Costway EP24618US - Manuals

User Manual Costway EP24618US


Summary
2 www.costway.com 3 www.costway.com Contact Us! Do NOT return this item. Contact our friendly customer service department for help first. E-mail US: [email protected] UK: [email protected] Before You Start Before You Start Please read all instructions carefully. Retain instructions for future refere...
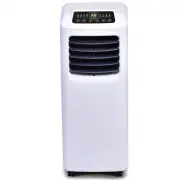
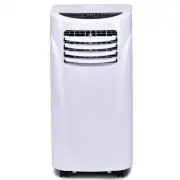
4 www.costway.com www.costway.com Thank you for selecting this super quality air-conditioner. Please keep this User ’ s Manual properly for future reference. Read the User ’ s Manual carefully before operating this unit. Important Safeguards Important safeguards: * This air-conditioner is suitable f...
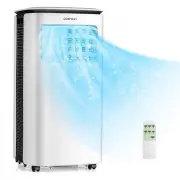
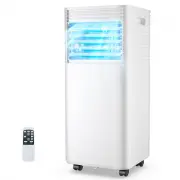
6 www.costway.com 7 www.costway.com 1. Control panel 15. Lower air duct bottom 2. Horizontal louver 16. Wire-winding post 3. Vertical louver 17. Drain cap 4. Air outlet frame 18. Evaporator filter mesh 5. Vertical Louvre connecting lever 19. Evaporator filter frame 6. Caster 20. Radiating fine mesh ...
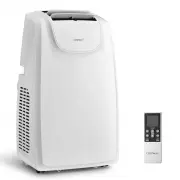
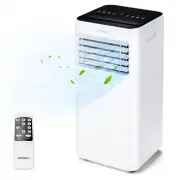
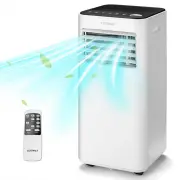
Costway Air Conditioners Manuals
-
 Costway EP22783
User Manual
Costway EP22783
User Manual
-
 Costway EP23048
User Manual
Costway EP23048
User Manual
-
 Costway EP23049
User Manual
Costway EP23049
User Manual
-
 Costway EP24619US
User Manual
Costway EP24619US
User Manual
-
 Costway ES10113US-WH
User Manual
Costway ES10113US-WH
User Manual
-
 Costway ES10114US-WH
User Manual
Costway ES10114US-WH
User Manual
-
 Costway FP10110US-BK
User Manual
Costway FP10110US-BK
User Manual
-
 Costway FP10110US-WH
User Manual
Costway FP10110US-WH
User Manual
-
 Costway FP10111US-GR
User Manual
Costway FP10111US-GR
User Manual
-
 Costway FP10116US-WH
User Manual
Costway FP10116US-WH
User Manual
-
 Costway FP10120US-GR
User Manual
Costway FP10120US-GR
User Manual
-
 Costway FP10234US-WH
User Manual
Costway FP10234US-WH
User Manual
-
 Costway FP10261US-BK
User Manual
Costway FP10261US-BK
User Manual
-
 Costway FP10263US-BK
User Manual
Costway FP10263US-BK
User Manual
-
 Costway FP10265US-BK
User Manual
Costway FP10265US-BK
User Manual
-
 Costway FP10267US-WH
User Manual
Costway FP10267US-WH
User Manual
-
 Costway FP10268US-WH
User Manual
Costway FP10268US-WH
User Manual
-
 Costway FP10343US-WH
User Manual
Costway FP10343US-WH
User Manual
-
 Costway FP10347US-NY
User Manual
Costway FP10347US-NY
User Manual
-
 Costway GHM0542
User Manual
Costway GHM0542
User Manual