Cosmo 63175S-DL - Manuals
User Manual Cosmo 63175S-DL


Summary
2 THANK YOU FOR YOUR PURCHASE Thank you for your purchase. We know that you have many brands and products to choose from and we are honored to know that you have decided to take one of our products into your home and hope that you enjoy it. COSMO Appliances are designed according to the strictest sa...
TABLE OF CONTENTS 3 RANGE HOOD SAFETY ........................................................................................ 4 Important Safety Instructions ................................................................................. 5 INSTALLATION REQUIREMENTS ..................................
RANGE HOOD SAFETY READ ALL INSTRUCTIONS BEFORE USING THE APPLIANCE Your safety and the safety of others are very important. We have provided many important safety messages in this manual and on your appliance. Always read and obey all safety messages. WARNING CAUTION This is the safety alert symbol....
Cosmo Range Hoods Manuals
-
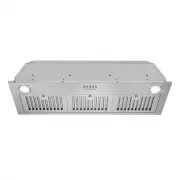
 Cosmo 668ICS750-DL
User Manual
Cosmo 668ICS750-DL
User Manual
-
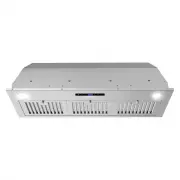
 Cosmo 668ICS900-DL
User Manual
Cosmo 668ICS900-DL
User Manual
-
 Cosmo COS-30IRHP
User Manual
Cosmo COS-30IRHP
User Manual
-
 Cosmo COS-30IRHP-DL
User Manual
Cosmo COS-30IRHP-DL
User Manual
-
 Cosmo COS-30IRHS
User Manual
Cosmo COS-30IRHS
User Manual
-
 Cosmo COS-36IRHP
User Manual
Cosmo COS-36IRHP
User Manual
-
 Cosmo COS-36IRHP-DL
User Manual
Cosmo COS-36IRHP-DL
User Manual
-
 Cosmo COS-36IRHS
User Manual
Cosmo COS-36IRHS
User Manual
-
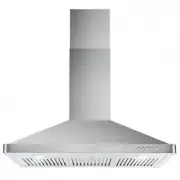
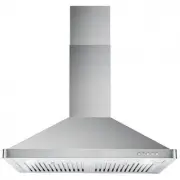 Cosmo COS-63175
User Manual
Cosmo COS-63175
User Manual
-
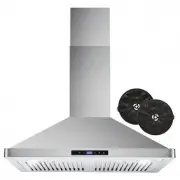
 Cosmo COS-63175-DL
User Manual
Cosmo COS-63175-DL
User Manual
-
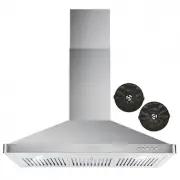
 Cosmo COS-63175S
User Manual
Cosmo COS-63175S
User Manual
-
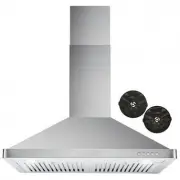
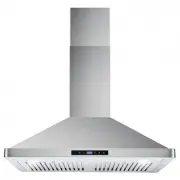
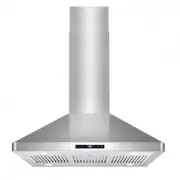
 Cosmo COS-63175S-DL
User Manual
Cosmo COS-63175S-DL
User Manual
-
 Cosmo COS-63190
User Manual
Cosmo COS-63190
User Manual
-
 Cosmo COS-63190-DL
User Manual
Cosmo COS-63190-DL
User Manual
-
 Cosmo COS-63190S
User Manual
Cosmo COS-63190S
User Manual
-
 Cosmo COS-63190S-DL
User Manual
Cosmo COS-63190S-DL
User Manual
-
 Cosmo COS-63ISS75
User Manual
Cosmo COS-63ISS75
User Manual
-
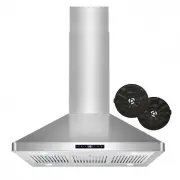
 Cosmo COS-63ISS75-DL
User Manual
Cosmo COS-63ISS75-DL
User Manual
-
 Cosmo COS-63ISS90
User Manual
Cosmo COS-63ISS90
User Manual
-
 Cosmo COS-63ISS90-DL
User Manual
Cosmo COS-63ISS90-DL
User Manual