Chef CVE662WA - Manuals
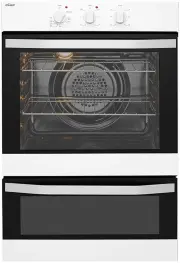
User Manual Chef CVE662WA


Summary
CONTENTSGeneral safety ...................................................... 3 Description of your appliance .............................. 4 Before operating your appliance for the first time .. 5 Setting the time ...........................................................5 Preparing your applianc...
general safety Built-in Cooking GENERAL SAFETY 3 An important read to avoid an electric shock or fire • The appliance is NOT suitable for use by children without supervision. • Young children should be supervised to ensure they do not play with this appliance. • This appliance is not intended for us...
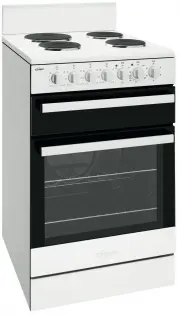
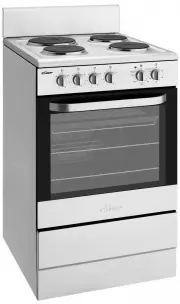
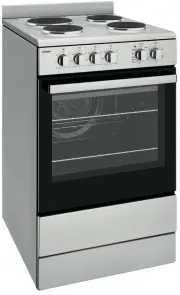
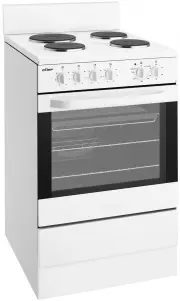
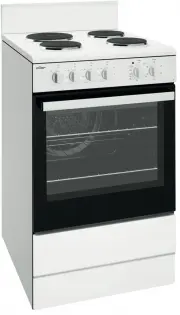
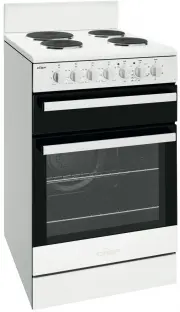
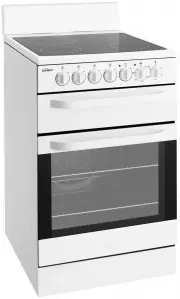
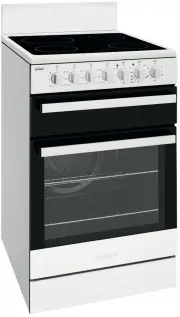
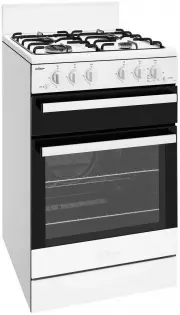
description of your appliance Model: CVE612 Underbench Oven Multifunction 3 Oven Temperature Selector Timer Oven/Grill Temperature Selector 3 Button Programmable Clock 3 Button Programmable Clock Oven Temperature Selector Lower Oven Temperature Selector Function Selector Oven Indicator Light Lower O...
Chef Ovens Manuals
-
 Chef CFE532SB
User Manual
Chef CFE532SB
User Manual
-
 Chef CFE532WA
User Manual
Chef CFE532WA
User Manual
-
 Chef CFE532WB
User Manual
Chef CFE532WB
User Manual
-
 Chef CFE535WA
User Manual
Chef CFE535WA
User Manual
-
 Chef CFE535WB
User Manual
Chef CFE535WB
User Manual
-
 Chef CFE536SA
User Manual
Chef CFE536SA
User Manual
-
 Chef CFE536SB
User Manual
Chef CFE536SB
User Manual
-
 Chef CFE536WA
User Manual
Chef CFE536WA
User Manual
-
 Chef CFE536WB
User Manual
Chef CFE536WB
User Manual
-
 Chef CFE537WA
User Manual
Chef CFE537WA
User Manual
-
 Chef CFE537WB
User Manual
Chef CFE537WB
User Manual
-
 Chef CFE547SA
User Manual
Chef CFE547SA
User Manual
-
 Chef CFE547SB
User Manual
Chef CFE547SB
User Manual
-
 Chef CFE547WA
User Manual
Chef CFE547WA
User Manual
-
 Chef CFE547WB
User Manual
Chef CFE547WB
User Manual
-
 Chef CFG503WA
User Manual
Chef CFG503WA
User Manual
-
 Chef CFG503WALP
User Manual
Chef CFG503WALP
User Manual
-
 Chef CFG503WBLP
User Manual
Chef CFG503WBLP
User Manual
-
 Chef CFG503WBNG
User Manual
Chef CFG503WBNG
User Manual
-
 Chef CFG504SA
User Manual
Chef CFG504SA
User Manual