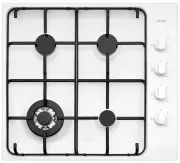
Chef CHG642WB - Manuals
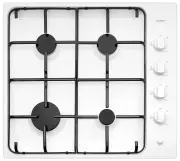
User Manual Chef CHG642WB


Summary
The symbols you will see in this booklet have these meanings: WARNING warning Indicates information concerning your personal safety WARNING caution Indicates information on how to avoid damaging the appliance TIPS & INFORMATION tips & information Indicates tips and information about use of t...
general safety Gas Cooktops GENERAL SAFETY 3 Read the following carefully to avoid an electric shock or fire General warnings • This appliance is not intended for use by persons (including children) with reduced physical, sensory or mental capabilities, or lack of experience and knowledge, unless th...
using your cooktop WARNING warning DO NOT spray aerosols in the vicinity of this appliance while it is in operation as aerosols can contain flammable propellants. WARNING warning Where the appliance is installed in any confined area, the area must be properly ventilated. It MUST NOT be used as a spa...
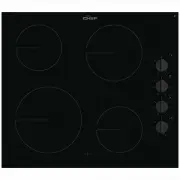
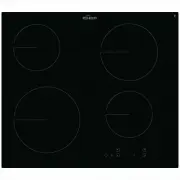
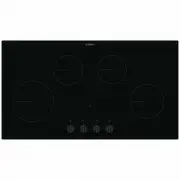
Chef Hobs Manuals
-
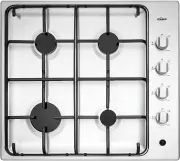
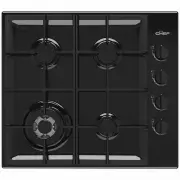
 Chef CHC642BB
User Manual
Chef CHC642BB
User Manual
-
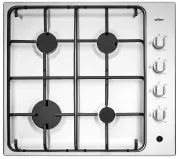
 Chef CHC644BB
User Manual
Chef CHC644BB
User Manual
-
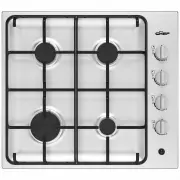
 Chef CHC942BB
User Manual
Chef CHC942BB
User Manual
-
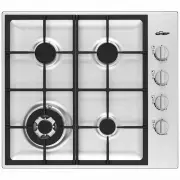
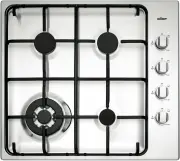
 Chef CHG642SA
User Manual
Chef CHG642SA
User Manual
-
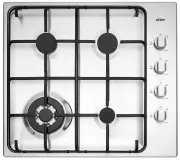
 Chef CHG642SB
User Manual
Chef CHG642SB
User Manual
-
 Chef CHG642SC
User Manual
Chef CHG642SC
User Manual
-
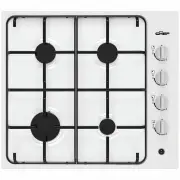
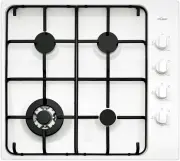
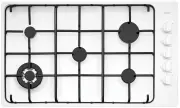
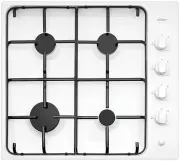 Chef CHG642WA
User Manual
Chef CHG642WA
User Manual
-
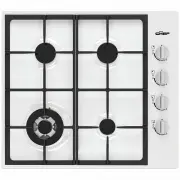
 Chef CHG642WC
User Manual
Chef CHG642WC
User Manual
-
 Chef CHG644DC
User Manual
Chef CHG644DC
User Manual
-
 Chef CHG644SC
User Manual
Chef CHG644SC
User Manual
-
 Chef CHG644WC
User Manual
Chef CHG644WC
User Manual
-
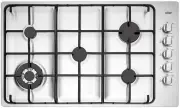
 Chef CHG646SA
User Manual
Chef CHG646SA
User Manual
-
 Chef CHG646SB
User Manual
Chef CHG646SB
User Manual
-
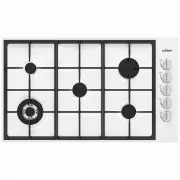
 Chef CHG646WA
User Manual
Chef CHG646WA
User Manual
-
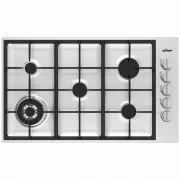
 Chef CHG646WB
User Manual
Chef CHG646WB
User Manual
-
 Chef CHG954SC
User Manual
Chef CHG954SC
User Manual
-
 Chef CHG954WC
User Manual
Chef CHG954WC
User Manual
-
 Chef CHG956SA
User Manual
Chef CHG956SA
User Manual
-
 Chef CHG956SB
User Manual
Chef CHG956SB
User Manual
-
 Chef CHG956WB
User Manual
Chef CHG956WB
User Manual