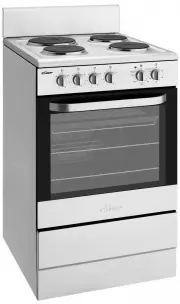
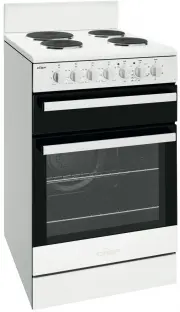
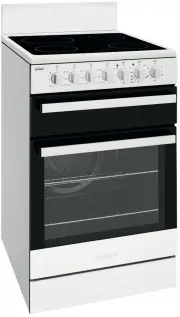
Chef CFE532SB - Manuals
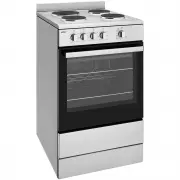
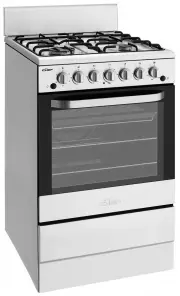
User Manual Chef CFE532SB


Summary
The symbols you will see in this booklet have these meanings: WARNING warning This symbol indicates information concerning your personal safety WARNING caution This symbol indicates information on how to avoid damaging the appliance TIPS & INFORMATION tips and information This symbol indicates t...
important safety instructions Chef 540 Upright Cooker GENERAL SAFETY 3 WARNING To avoid an electric shock or fire This appliance is NOT intended for use by persons (including children) with reduced physical, sensory or mental capability, or lack of experience and knowledge, unless they have been giv...
operating for the first time Choosing utensils for gas and electric hotplates Refer to diagram below WARNING Installation and service warning • Only an authorised person must install and service this appliance (Certificate of Compliance to be retained) • In order to avoid tipping of appliance the an...
Chef Ovens Manuals
-
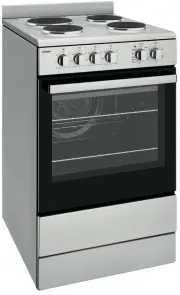
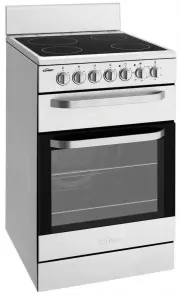
 Chef CFE532WA
User Manual
Chef CFE532WA
User Manual
-
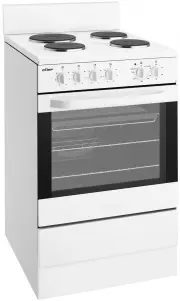
 Chef CFE532WB
User Manual
Chef CFE532WB
User Manual
-
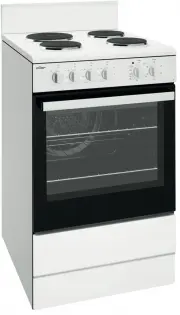
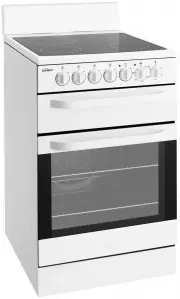
 Chef CFE535WA
User Manual
Chef CFE535WA
User Manual
-
 Chef CFE535WB
User Manual
Chef CFE535WB
User Manual
-
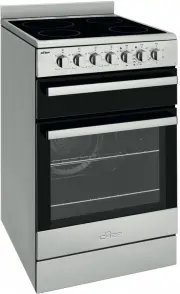
 Chef CFE536SA
User Manual
Chef CFE536SA
User Manual
-
 Chef CFE536SB
User Manual
Chef CFE536SB
User Manual
-
 Chef CFE536WA
User Manual
Chef CFE536WA
User Manual
-
 Chef CFE536WB
User Manual
Chef CFE536WB
User Manual
-
 Chef CFE537WA
User Manual
Chef CFE537WA
User Manual
-
 Chef CFE537WB
User Manual
Chef CFE537WB
User Manual
-
 Chef CFE547SA
User Manual
Chef CFE547SA
User Manual
-
 Chef CFE547SB
User Manual
Chef CFE547SB
User Manual
-
 Chef CFE547WA
User Manual
Chef CFE547WA
User Manual
-
 Chef CFE547WB
User Manual
Chef CFE547WB
User Manual
-
 Chef CFG503WA
User Manual
Chef CFG503WA
User Manual
-
 Chef CFG503WALP
User Manual
Chef CFG503WALP
User Manual
-
 Chef CFG503WBLP
User Manual
Chef CFG503WBLP
User Manual
-
 Chef CFG503WBNG
User Manual
Chef CFG503WBNG
User Manual
-
 Chef CFG504SA
User Manual
Chef CFG504SA
User Manual
-
 Chef CFG504SALP
User Manual
Chef CFG504SALP
User Manual