Cavaliere AP238-PS37-30 - Manuals

User Manual Cavaliere AP238-PS37-30


Summary
Important Safety Notice Read all Instructions before Installing and operating this appliance The installation in this manual is intended for qualified installers, service technicians or persons with • similar qualified background. Installation and electrical wiring must be done by qualified professi...
Page 2 Important Safety Notice Read all Instructions before Installing and operating this appliance WARNING Your safety and the safety of others is very important. We have provided many important safety mes - sages in this manual and on your appliance. Always read and obey all safety messages. All s...
Table of Contents INSTALLATION Tools needed....................................................3 Parts supplied...................................................4 Venting requirements.......................................5 Mount heights & clearance...........................5-6 Calculating ven...
Cavaliere Range Hoods Manuals
-
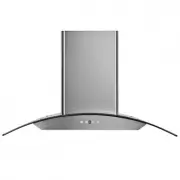
 Cavaliere AP238-PS29-30
User Manual
Cavaliere AP238-PS29-30
User Manual
-
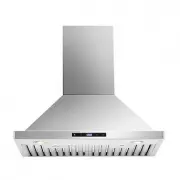
 Cavaliere AP238-PS31-36
User Manual
Cavaliere AP238-PS31-36
User Manual
-
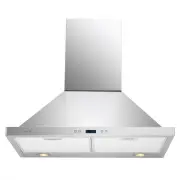
 Cavaliere AP238-PSD-30
User Manual
Cavaliere AP238-PSD-30
User Manual
-
 Cavaliere AP238-PSD-42
User Manual
Cavaliere AP238-PSD-42
User Manual
-
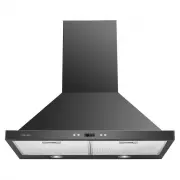
 Cavaliere AP238-PSF-30
User Manual
Cavaliere AP238-PSF-30
User Manual
-
 Cavaliere AP238-PSF-36
User Manual
Cavaliere AP238-PSF-36
User Manual
-
 Cavaliere AP238-PSF-42
User Manual
Cavaliere AP238-PSF-42
User Manual
-
 Cavaliere AP238-PSL-30
User Manual
Cavaliere AP238-PSL-30
User Manual
-
 Cavaliere AP238-PSL-36
User Manual
Cavaliere AP238-PSL-36
User Manual
-
 Cavaliere AP238-PSZ-30
User Manual
Cavaliere AP238-PSZ-30
User Manual
-
 Cavaliere AP238-PSZ-36
User Manual
Cavaliere AP238-PSZ-36
User Manual
-
 Cavaliere AP238-PSZ-42
User Manual
Cavaliere AP238-PSZ-42
User Manual
-
 Cavaliere CAV-B02-30
User Manual
Cavaliere CAV-B02-30
User Manual
-
 Cavaliere SV168-UC200-30T
User Manual
Cavaliere SV168-UC200-30T
User Manual
-
 Cavaliere SV218B2-30
User Manual
Cavaliere SV218B2-30
User Manual
-
 Cavaliere SV218B2-30-BLK
User Manual
Cavaliere SV218B2-30-BLK
User Manual
-
 Cavaliere SV218B2-30-LED
User Manual
Cavaliere SV218B2-30-LED
User Manual
-
 Cavaliere SV218B2-36
User Manual
Cavaliere SV218B2-36
User Manual
-
 Cavaliere SV218B2-I30
User Manual
Cavaliere SV218B2-I30
User Manual
-
 Cavaliere SV218B2-I36
User Manual
Cavaliere SV218B2-I36
User Manual