Bosch WTH85200AU - Manuals
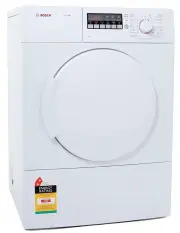
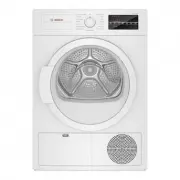
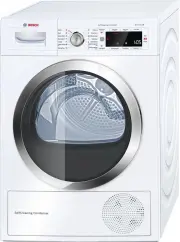
User Manual Bosch WTH85200AU


Summary
2 Your new tumble dryer You have opted for a tumble dryer manufactured by Bosch. Please take a few minutes to read and become familiar with the advantages of your tumble dryer. To meet the high quality demands required by Bosch, every tumble dryer that leaves our factory is carefully checked to ensu...
en 3 Contents en Installation and operating instructions 8 Intended use. . . . . . . . . . . . . . . . .4 ( Safety instructions . . . . . . . . . . .4 Children/people/pets . . . . . . . . . . . . . 4 Installation. . . . . . . . . . . . . . . . . . . . . . 6 Operation . . . . . . . . . . . . . . . . ...
en Intended use 4 8 Intended use Intended use ■ This appliance is intended for private domestic use only. ■ Do not install or operate this appliance anywhere that is liable to experience frost and/or outdoor conditions. There is a risk that the appliance will be damaged if residual water in it freez...
Bosch Dryers Manuals
-
 Bosch WQG235D8AU
User Manual
Bosch WQG235D8AU
User Manual
-
 Bosch WQG24200AU
User Manual
Bosch WQG24200AU
User Manual
-
 Bosch WQG24201AU
User Manual
Bosch WQG24201AU
User Manual
-
 Bosch WTA74200AU
User Manual
Bosch WTA74200AU
User Manual
-
 Bosch WTB86200AU
User Manual
Bosch WTB86200AU
User Manual
-
 Bosch WTB86200UC
User Manual
Bosch WTB86200UC
User Manual
-
 Bosch WTG86400AU
User Manual
Bosch WTG86400AU
User Manual
-
 Bosch WTG86403UC
User Manual
Bosch WTG86403UC
User Manual
-
Bosch WTG86403UC
Manual
-
 Bosch WTG865H4UC
User Manual
Bosch WTG865H4UC
User Manual
-
Bosch WTG865H4UC
Manual
-
 Bosch WTH8300AU
User Manual
Bosch WTH8300AU
User Manual
-
 Bosch WTR85T00AU
User Manual
Bosch WTR85T00AU
User Manual
-
 Bosch WTW87564AU
User Manual
Bosch WTW87564AU
User Manual
-
 Bosch WTW87565AU
User Manual
Bosch WTW87565AU
User Manual
-
 Bosch WTW87NH1UC
User Manual
Bosch WTW87NH1UC
User Manual
-
 Bosch WTX88M20AU
User Manual
Bosch WTX88M20AU
User Manual
-
 Bosch WTX88MH0AU
User Manual
Bosch WTX88MH0AU
User Manual
-
 Bosch WTY877W0AU
User Manual
Bosch WTY877W0AU
User Manual
-
 Bosch WTY88700AU
User Manual
Bosch WTY88700AU
User Manual