Bosch PXX995KX5E - Manuals
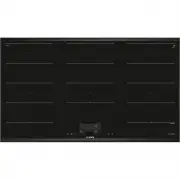
User Manual Bosch PXX995KX5E


Summary
en Safety 2 Further information and explanations are available online: Table of contents 1 Safety ................................................................... 2 2 Avoiding material damage.................................. 4 3 Environmental protection and saving en-ergy .......................
Safety en 3 2750-10. If these conditions are satisfied, andif, in addition, non-metal cooking utensils andcookware with non-metal handles are used, itis safe to use this induction hob as intended. 1.3 Restriction on user group This appliance may be used by children aged8 or over and by people who h...
en Avoiding material damage 4 The insulation on cables of electrical appli-ances may melt if it touches hot parts of theappliance. ▶ Never bring electrical appliance cables intocontact with hot parts of the appliance. If metallic objects come into contact with thefan that is located on the undersid...
Bosch Hobs Manuals
-
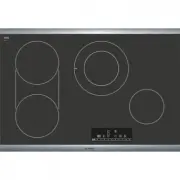
 Bosch NEM5066UC
User Manual
Bosch NEM5066UC
User Manual
-
Bosch NEM5066UC
Installation Manual
-
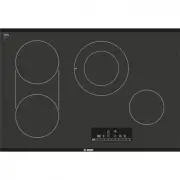
 Bosch NEM5466UC
User Manual
Bosch NEM5466UC
User Manual
-
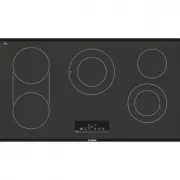
 Bosch NET8068SUC
User Manual
Bosch NET8068SUC
User Manual
-
Bosch NET8068SUC
Installation Manual
-
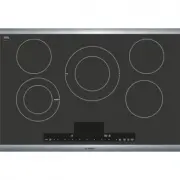
Bosch NET8068SUC
Manual
-
 Bosch NET8069SUC
User Manual
Bosch NET8069SUC
User Manual
-
Bosch NET8069SUC
Manual
-
 Bosch NET8069UC
User Manual
Bosch NET8069UC
User Manual
-
Bosch NET8069UC
Manual
-
 Bosch NET8669UC
User Manual
Bosch NET8669UC
User Manual
-
Bosch NET8669UC
Manual
-
 Bosch NETP069SUC
User Manual
Bosch NETP069SUC
User Manual
-
Bosch NETP069SUC
Manual
-
 Bosch NGM5058UC
User Manual
Bosch NGM5058UC
User Manual
-
Bosch NGM5058UC
Manual
-
 Bosch NGM8056UC
User Manual
Bosch NGM8056UC
User Manual
-
Bosch NGM8056UC
Installation Manual
-
Bosch NGM8056UC
Manual
-
 Bosch NGM8058UC
User Manual
Bosch NGM8058UC
User Manual