Black & Decker EM720CFOB - Manuals
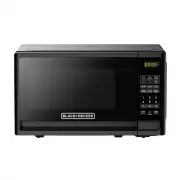
User Manual Black & Decker EM720CFOB


Summary
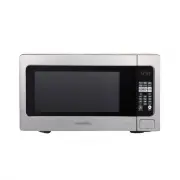
Specifications EN-2 Model:Rated Voltage:Rated Input Power(Microwave): Rated Output Power(Microwave):Oven Capacity:Turntable Diameter:External Dimensions:Net Weight: 120V~ 60Hz 10 inch 1050W 0.7 Cu.ft (440X323X259mm) Approx. X 12.7 X 10.2 inch EM720CFO-B/EM720CFO-W 700W 21. Lbs (9.7 kg) 4 17.3 PRECAU...
IMPORTANT SAFETY INSTRUCTIONS 1. Read all instructions before using the appliance. 2. Read and follow the specific: "PRECAUTIONS TO AVOID POSSIBLE EXPOSURE TO EXCESSIVE MICROWAVE ENERGY" found on page . 3. This appliance must be grounded. Connect only to properly grounded outlet. See "GR...
GROUNDING INSTRUCTIONS This appliance must be grounded. In the event of an electrical short circuit, grounding reduces the risk of electric shock by providing an escape wire for the electric current. This appliance is equipped with a cord having a grounding wire with a grounding plug. The plug must ...
Black & Decker Microwaves Manuals
-
 Black & Decker EM031MFOP1
User Manual
Black & Decker EM031MFOP1
User Manual
-
 Black & Decker EM044K6BBP1
User Manual
Black & Decker EM044K6BBP1
User Manual
-
 Black & Decker EM053K6BE
User Manual
Black & Decker EM053K6BE
User Manual
-
 Black & Decker EM262AMY-PHB
User Manual
Black & Decker EM262AMY-PHB
User Manual
-
 Black & Decker EM720CB7
User Manual
Black & Decker EM720CB7
User Manual
-
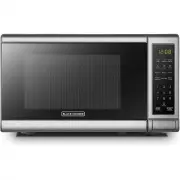
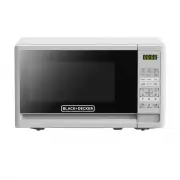 Black & Decker EM720CFOW
User Manual
Black & Decker EM720CFOW
User Manual
-
 Black & Decker EM925AB9
User Manual
Black & Decker EM925AB9
User Manual
-
 Black & Decker EM925ACP-P2
User Manual
Black & Decker EM925ACP-P2
User Manual