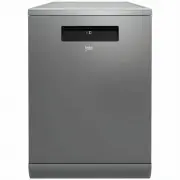
Beko DFN16420X - Manuals
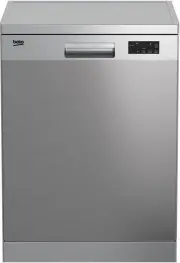
User Manual Beko DFN16420X


Summary
tüm siyah yazılar matbaaya giderken gönderilmiyor. Atılım firması basıyor This product was manufactured using the latest technology in environmentally friendly conditions. Please read this user manual first! Dear Customer, We hope that you get the best results from the product which has been manufac...
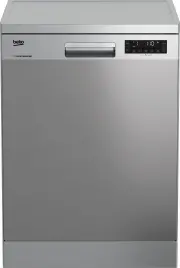
3 EN 1 Dishwasher Overview 1. Tabletop (depends on the model) 2. Upper impeller 3. Lower basket 4. Lower impeller 5. Filters 6. Control panel 7. Door 8. Detergent dispenser 9. Lower impeller slot 10. Silverware basket 11. Upper basket rail 12. Upper basket with rack 13. Fan drying system (depends on...
4 EN Technical specifications This product complies with the following EU directives: Development, production and sales stages of this product comply with the safety rules included in all pertaining European Community regulations. 2006/95/EC, 2004/108/EC, 93/68/EEC, IEC 60436, EN 50242 Power input 2...
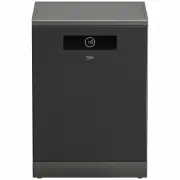
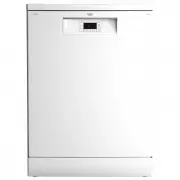
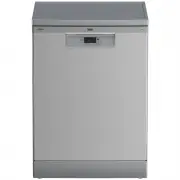
Beko Dishwashers Manuals
-
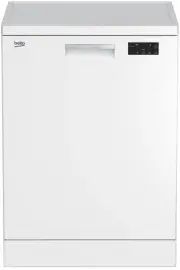
 Beko BDF1410W
User Manual
Beko BDF1410W
User Manual
-
 Beko BDF1410X
User Manual
Beko BDF1410X
User Manual
-
 Beko BDF1620X
User Manual
Beko BDF1620X
User Manual
-
 Beko BDF1630X
User Manual
Beko BDF1630X
User Manual
-
 Beko BDF1640AX
User Manual
Beko BDF1640AX
User Manual
-
 Beko BDF1640DX
User Manual
Beko BDF1640DX
User Manual
-
 Beko BDFB1410W
User Manual
Beko BDFB1410W
User Manual
-
 Beko BDFB1410X
User Manual
Beko BDFB1410X
User Manual
-
 Beko BDFB1630W
User Manual
Beko BDFB1630W
User Manual
-
 Beko BDFB1630X
User Manual
Beko BDFB1630X
User Manual
-
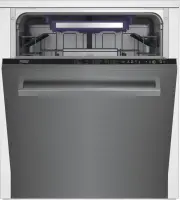
 Beko BDI1420
User Manual
Beko BDI1420
User Manual
-
 Beko DDN38450
User Manual
Beko DDN38450
User Manual
-
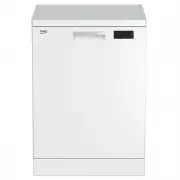
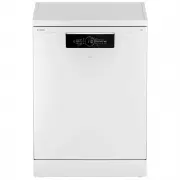
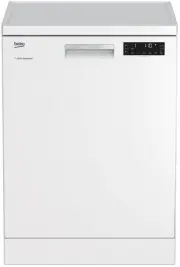
 Beko DFN16420W
User Manual
Beko DFN16420W
User Manual
-
 Beko DFN28430W
User Manual
Beko DFN28430W
User Manual
-
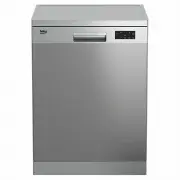
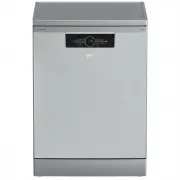
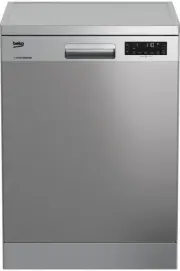 Beko DFN28430X
User Manual
Beko DFN28430X
User Manual