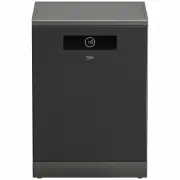
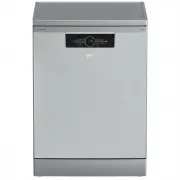
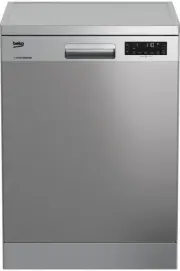
Beko BDF1620X - Manuals
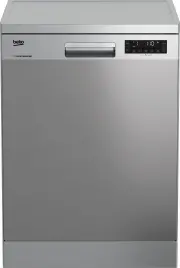
User Manual Beko BDF1620X
1

2

3

4

5

6

7

8

9

10

11

12

13

14

15

16

17

18

19

20

21

22

23

24

25

26

27

28

29

30

31

32

33

34

35

36

37

38

39

40

41

42

43

44

Summary
Page 2 - Please read this user manual first!
www.beko.com.tr Explanation of symbols Throughout this User Manual the following symbols are used: C Important information or useful hints about usage. A Warning for hazardous situations with regard to life and property. B Warning for electric shock. Packaging materials of the product are manufactur...
Page 3 - Dishwasher; User’s Manual
BDF1620X BDF1620W EN Document Number : 15 9273 0100_AA_BEKO_D1AU_EN/ 08-08-18.(9:05) Dishwasher User’s Manual
Page 6 - instructions for safety and environment; General safety
4 Dishwasher / User’s Manual /42 EN instructions for safety and environment 1 This section contains safety instructions that will help to get protected from risk of personal injury or property damage. Failure to follow these instructions shall void all warranties. General safety • Never place the pr...
Beko Dishwashers Manuals
-
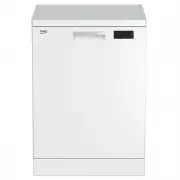 Beko BDF1410W
User Manual
Beko BDF1410W
User Manual
-
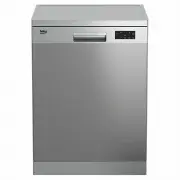 Beko BDF1410X
User Manual
Beko BDF1410X
User Manual
-
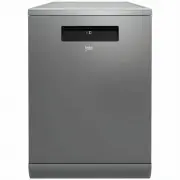
 Beko BDF1630X
User Manual
Beko BDF1630X
User Manual
-
 Beko BDF1640AX
User Manual
Beko BDF1640AX
User Manual
-
 Beko BDF1640DX
User Manual
Beko BDF1640DX
User Manual
-
 Beko BDFB1410W
User Manual
Beko BDFB1410W
User Manual
-
 Beko BDFB1410X
User Manual
Beko BDFB1410X
User Manual
-
 Beko BDFB1630W
User Manual
Beko BDFB1630W
User Manual
-
 Beko BDFB1630X
User Manual
Beko BDFB1630X
User Manual
-
 Beko BDI1420
User Manual
Beko BDI1420
User Manual
-
 Beko DDN38450
User Manual
Beko DDN38450
User Manual
-
 Beko DFN16420W
User Manual
Beko DFN16420W
User Manual
-
 Beko DFN16420X
User Manual
Beko DFN16420X
User Manual
-
 Beko DFN28430W
User Manual
Beko DFN28430W
User Manual
-
 Beko DFN28430X
User Manual
Beko DFN28430X
User Manual