Avanti MOTR13D3S - Manuals
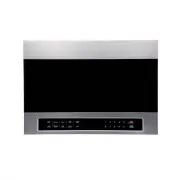
User Manual Avanti MOTR13D3S
1

2

3

4
5

6

7

8

9

10

11

12

13

14

15

16

17

18

19

20

21

22

23
24

25

26

27

28

29

30

31

32

33

34

35

36
37
38
39
40
41

42
43
44
45

46
47
48
49

50
51
52
53

54
55

56

Summary
Page 2 - TABLE OF CONTENTS
2 TABLE OF CONTENTS Help Us Help You 3 Parts and Features 4 Important Safety Instructions 5 Installation Instructions 6 Before Using Your Microwave Oven 6 Installation of Your Microwave Oven 6 Safety Precautions 6 – 7 Electrical Connection 8 Operating Your Microwave Oven 8 Control Panel 9 Operation ...
Page 3 - HELP US HELP YOU...
3 HELP US HELP YOU… Read this guide carefully. It is intended to help you operate and maintain your new microwave oven properly. Keep it handy to answer your questions. If you don't understand something or you need more assistance, please call: Avanti Customer Service 800-220-5570 Keep proof of orig...
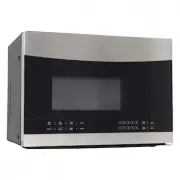
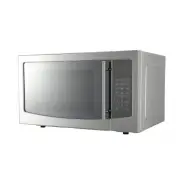
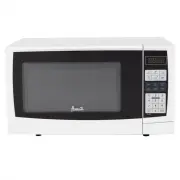
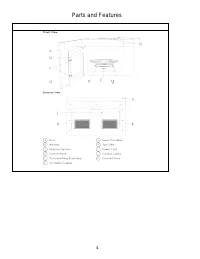
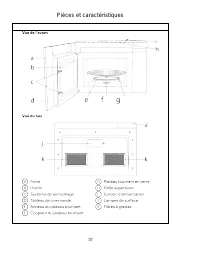
Page 4 - Parts and Features