Artusi ATBBQCG3 - Manuals
User Manual Artusi ATBBQCG3


Summary
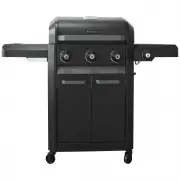
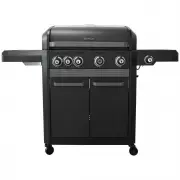
Page 1 Assembly and Operating Instructions 3 BURNER BBQ WITH SIDE BURNER Product Code: ATBBQCG3 (Model BW-PC131010-1A) IMPORTA N T: PLEASE CAREFULLY READ A N D FOLLOW THE FOLLOWI N G ASSEMBLY I N STRUCTIO N S. PLEASE READ RIGHT THROUGH THESE OPERATI N G I N STRUCTIO N S BEFORE OPERATI N G THIS U N I...
Page 7 PUTTI N G YOUR GAS BARBEQUE I N A N E N CLOSURE (continued): • Within a partial enclosure that includes an overhead cover and more than two walls, the following shall both apply: (1) At least 25% of the total wall area is completely open and (2) At least 30% of the remaining wall area is open...
Page 8 IMPORTA N T ISSUES FOR I N STALLATIO N : • DO N OT obstruct any of the ventilation ports on the body or the hood of the barbeque. • The gas cylinder must be kept out of direct sunlight and away from any heat sources. • During a gas cylinder swap or re-fill, ensure that all control knobs are i...
Artusi BBQs Manuals
-
 Artusi ABBQ1B
User Manual
Artusi ABBQ1B
User Manual
-
 Artusi ABBQ1B-ABFLAT
User Manual
Artusi ABBQ1B-ABFLAT
User Manual
-
 Artusi ABBQ1B-ABHOOD
User Manual
Artusi ABBQ1B-ABHOOD
User Manual
-
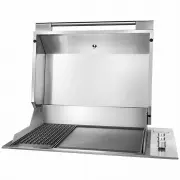
 Artusi ABBQM
User Manual
Artusi ABBQM
User Manual
-
 Artusi ABBQM2
User Manual
Artusi ABBQM2
User Manual
-
 Artusi ABBQM2-ABBQMH2
User Manual
Artusi ABBQM2-ABBQMH2
User Manual
-
 Artusi ABBQM3
User Manual
Artusi ABBQM3
User Manual
-
 Artusi ABBQM3-ABBQMH3
User Manual
Artusi ABBQM3-ABBQMH3
User Manual
-
 Artusi ABBQM-ABBQMF
User Manual
Artusi ABBQM-ABBQMF
User Manual
-
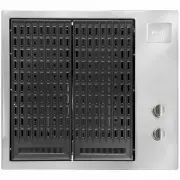
 Artusi ABIBBQ4
User Manual
Artusi ABIBBQ4
User Manual
-
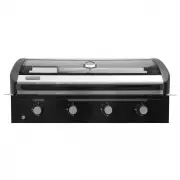
 Artusi ATBBQCG4
User Manual
Artusi ATBBQCG4
User Manual