Page 3 - Important safety instructions; with
Important safety instructions When using electrical appliance basic safety precautions should be followed, including the following:warning: to reduce the risk of burns, electric shock, fire, injury to persons or exposure to excessive microwave energy:1.Read all instructions before using the applianc...
Page 5 - For class
needed to handle the utensil.15.Utensils should be checked to ensure that they are suitable for use in microwave oven.16.Warning: it is hazardous for anyone other than a trained person to carry out any service or repair operation which involves the removal of any cover which gives protection against...
Page 9 - IMPORTANT
INSTALLATION 1. Make sure all the packing materials are removed from the inside of the door. 2. Inspect the oven after unpacking for any visual damage such as: Misaligned Door Damaged Door Dents or Holes in Door Window and Screen Dents in Cavity If any of the above are visible, DO NOT use the oven. ...
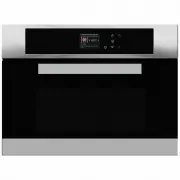
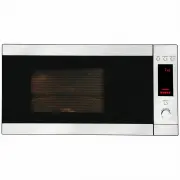
Page 11 - FEATURE DIAGRAM
6. Do not insert any object into the openings on the outer case.7. Do not at any time remove parts from the oven such as the feet, coupling, screws, etc.8. Do not cook food directly on the glass tray. Place food in/on proper cooking utensil before placing in the oven.9. IMPORTANT-COOKWARE NOT TO USE...
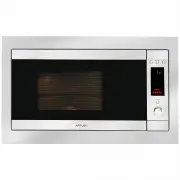
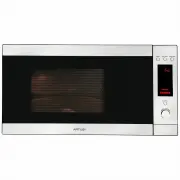
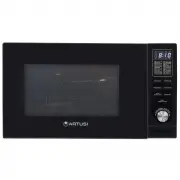
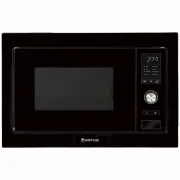
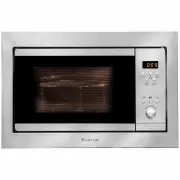
Page 12 - COMPUTER CONTROL PANEL
COMPUTER CONTROL PANEL 1 Micro/ *ULOO /Combi 2 $XWR0HQX 3 &ORFN7LPHU 5 6WDUW5HVHW Start/Reset Clock/Timer Auto Menu De frost / Time Settin g 6 'HIURVW7LPHVHWWLQJ ',63/$<:,1'2: Micro/ Grill/Combi 11
Page 17 - OVEN INSTALLATION MANUAL; MICROWAVE OVEN CABINETRY; COMPONENTS; TRIM KIT SPECIFICATIONS
FRAME BUILT-IN MICROWAVE OVEN INSTALLATION MANUAL vent MIROWAVE LOCATION vent MICROWAVE OVEN CABINETRY COMPONENTS Cabinet measurement Requirements(illustrated above): 1. Cabinet's inner dimension in transverse direction is 566-580mm. This is the minimum distance from the left batten to right batten....
Page 18 - FRAME INSTALLATION STEPS
2 Open the microwave oven, 1 Put the microwave oven into the cabinet and keepthe microwave oven in a horizontal direction and keepthe edge distance of two side as same.Then fix thebolt(component 1) on the top of microwave oven and beat it into the cabinet. fix the bolt (Component 3) and beat it into...
Page 19 - Warranty Card; ffi
Warranty Card Worldwide Appliances Pty Limited A.B.N. 45868077422O ffi ce: 48-50 Moore Street, Leichhardt N.S.W 2040 Post:Locked Bag 3000, Annandale, N.S.W 2038 P: 1300 694 583WARRANTY REGISTRATION Your ongoing satisfaction with your artusi product is important to us. We ask that you complete the en...
Page 20 - MODEL NUMBER; (a) These terms and conditions do not affect your; continued
4 Please complete and send to ARTUSI at: REPLY PAID 83617 LEICHHARDT NSW 2040 Last Name: First Name: Address: State: Postcode: Email: Home Phone: Mobile: Purchase Date: / / (Please attach proof of purchase to validate warranty) MODEL NUMBER SERIAL NUMBER (if you cannot locate the serial number pleas...
Page 22 - DISCLAIMER
A R T U S I .C O M . A U P : 1 3 0 0 6 4 9 5 8 3 NSW & ACT ( HEAD OFFICE ) 48-50 MOORE STREET LEICHHARDTF 02 8569 4699 QLD 1 / 42 CAVENDISH ROAD COORPAROOF 07 3397 0850 VIC , TAS & SA 1211 TOORAK ROAD CAMBERWELLF 03 9809 2155 WA & NTUNIT 10 / 55 HOWE STREET OSBORNE PARKF 08 9201 9188 NZP...